-
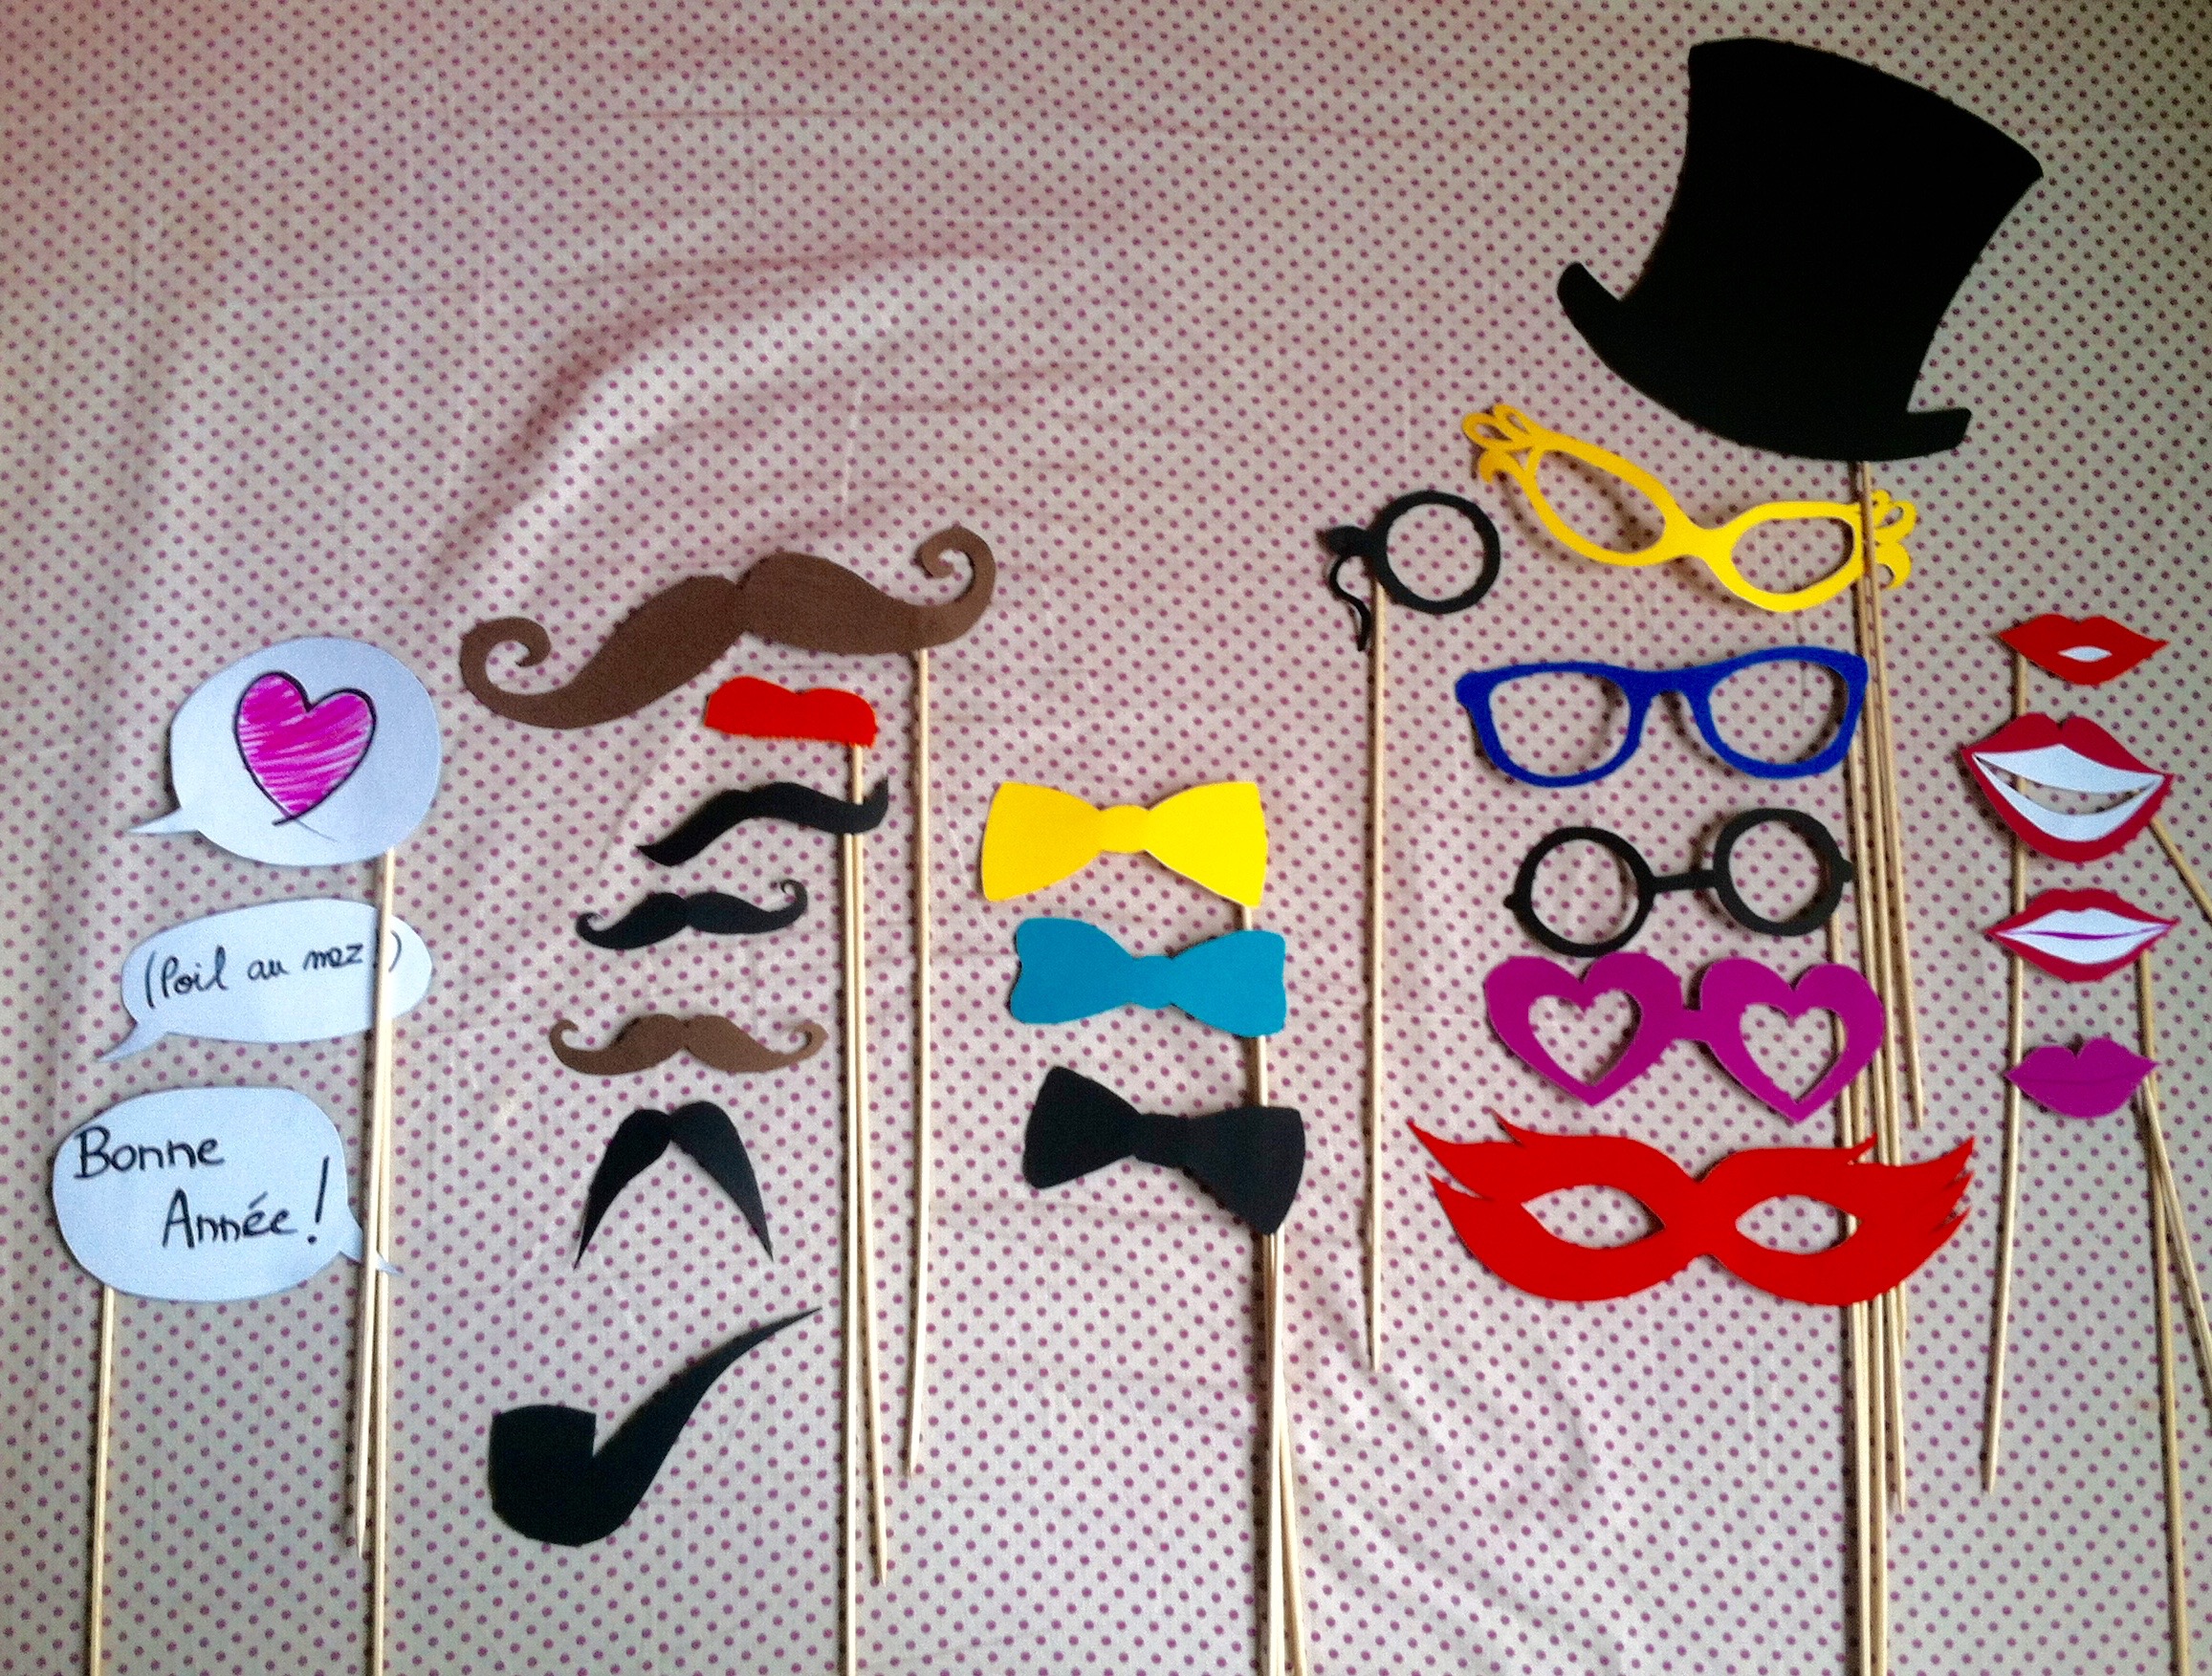
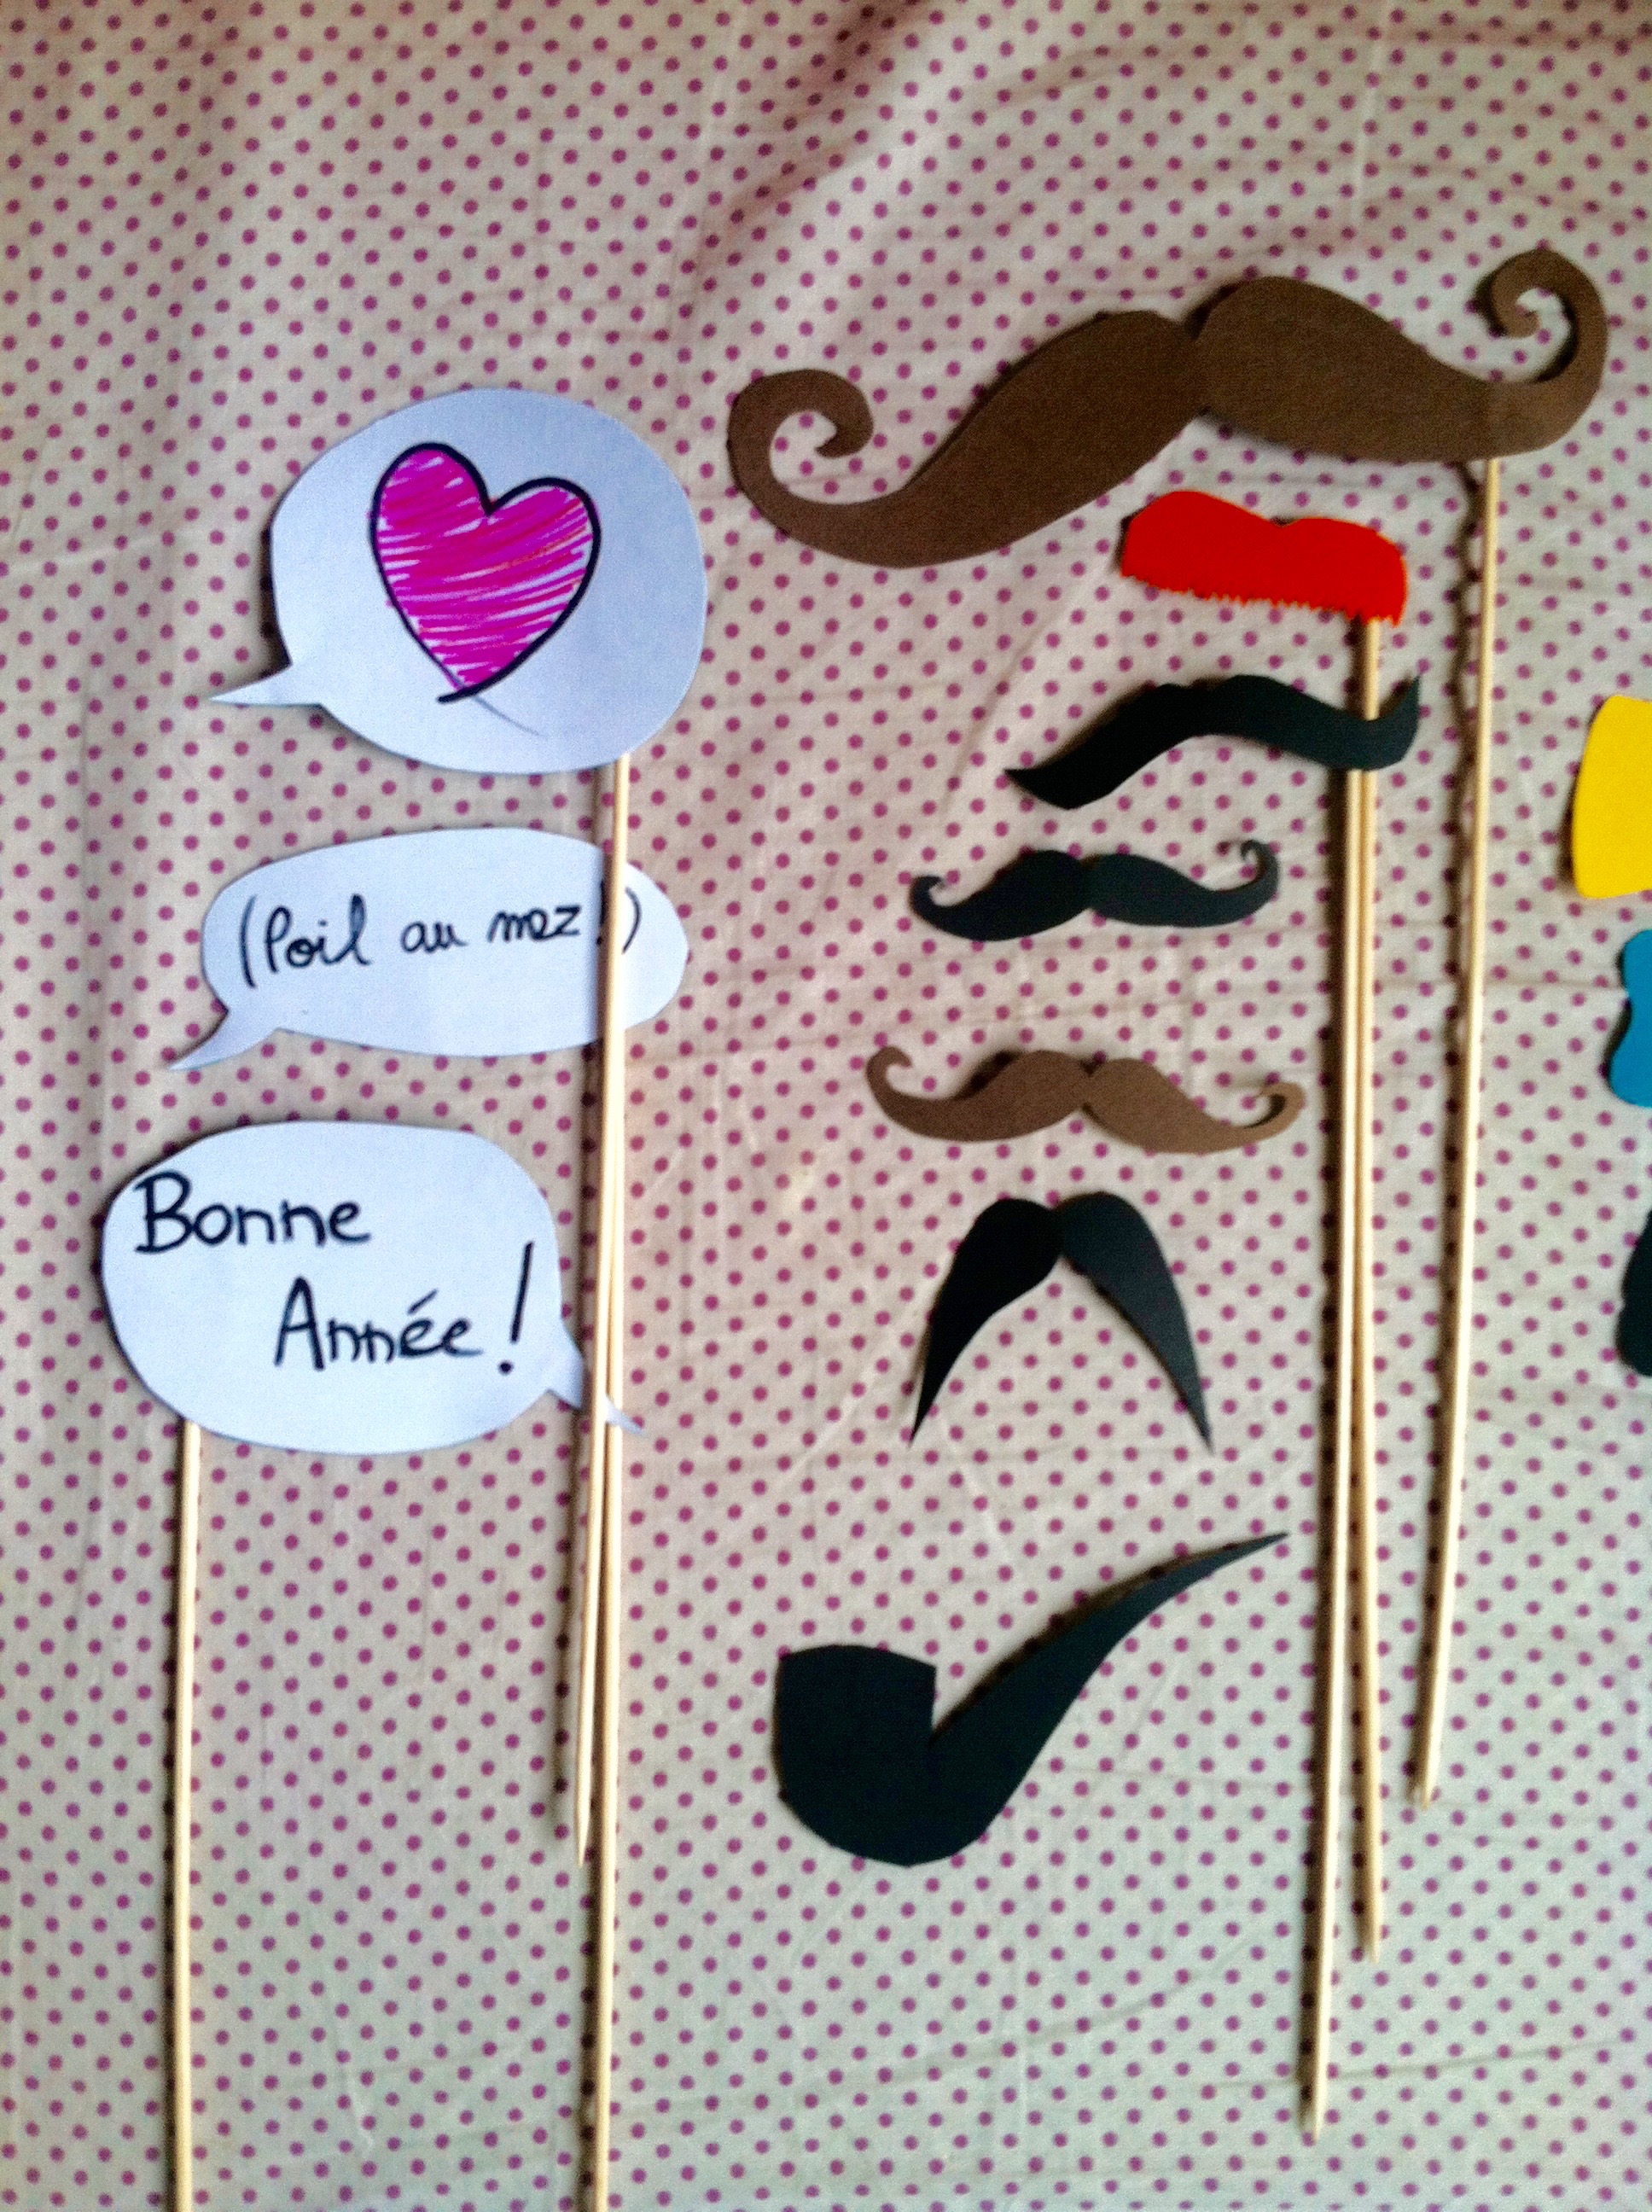
A few days ago, it was New Year's eve (what a big scoop). As I invited my friends, I decided to make a nice "animation" : a Photo Booth !
It's a well-decorated place, with proper lightening, where you can take cool photos to keep a memory of the party. Actually, I didn't make any decorations, but I did worked on the accessories !
I saw a lot of pictures with fake glasses, moustaches and all... And I heard that you could buy them, but it was expensive and a lot less funny that doing it myself. So I decided to make my own paper accessories kit !
The equipment is easy to find : all you need is good scissors, a cutter, some scotch, some colored cardboard paper and very long wooden skewers.
Then, still very easy : you just have to draw your different shapes with a pencil, then you cut them and you stick them to the skewers witch the scotch ! After one hour, here's what I could get :


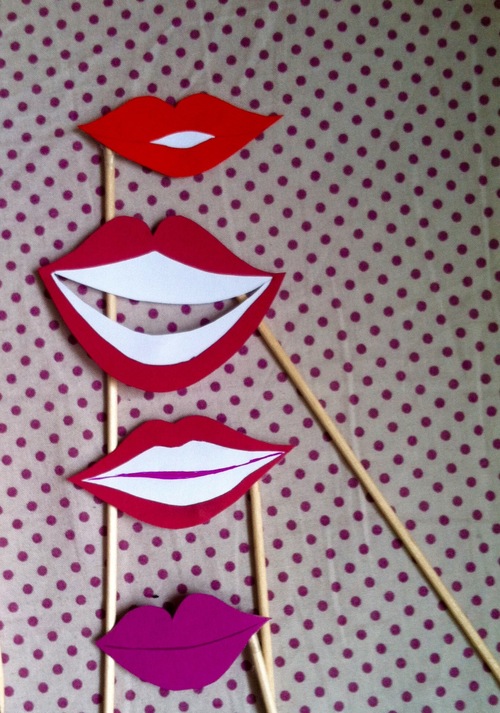
All the ideas are not mine, I inspired myself from what I found on Internet (just type Photobooth paper kit on Google).
The result on my friends have been great, I now have tons of super cool pics from the party !
 your comment
-
Today, I'll give you a cool and cheap idea of DIY : mug customization. There are LOTS of it on Internet, so I felt like trying this out (plus, I had a fun gift idea to find for Melsaan).
You don't need a lot of things for this tutorial :
- Some POSCA markers, again, which are pretty expensive but last for long (I haven't counted them in the price since I already had them)
- A mug to customize (between 2 and 4 €, internet or creative stores)
- Some toothpicks
- Absorbant paper
- An oven
And that's all ! (at least for my version)
So ! Time to start.

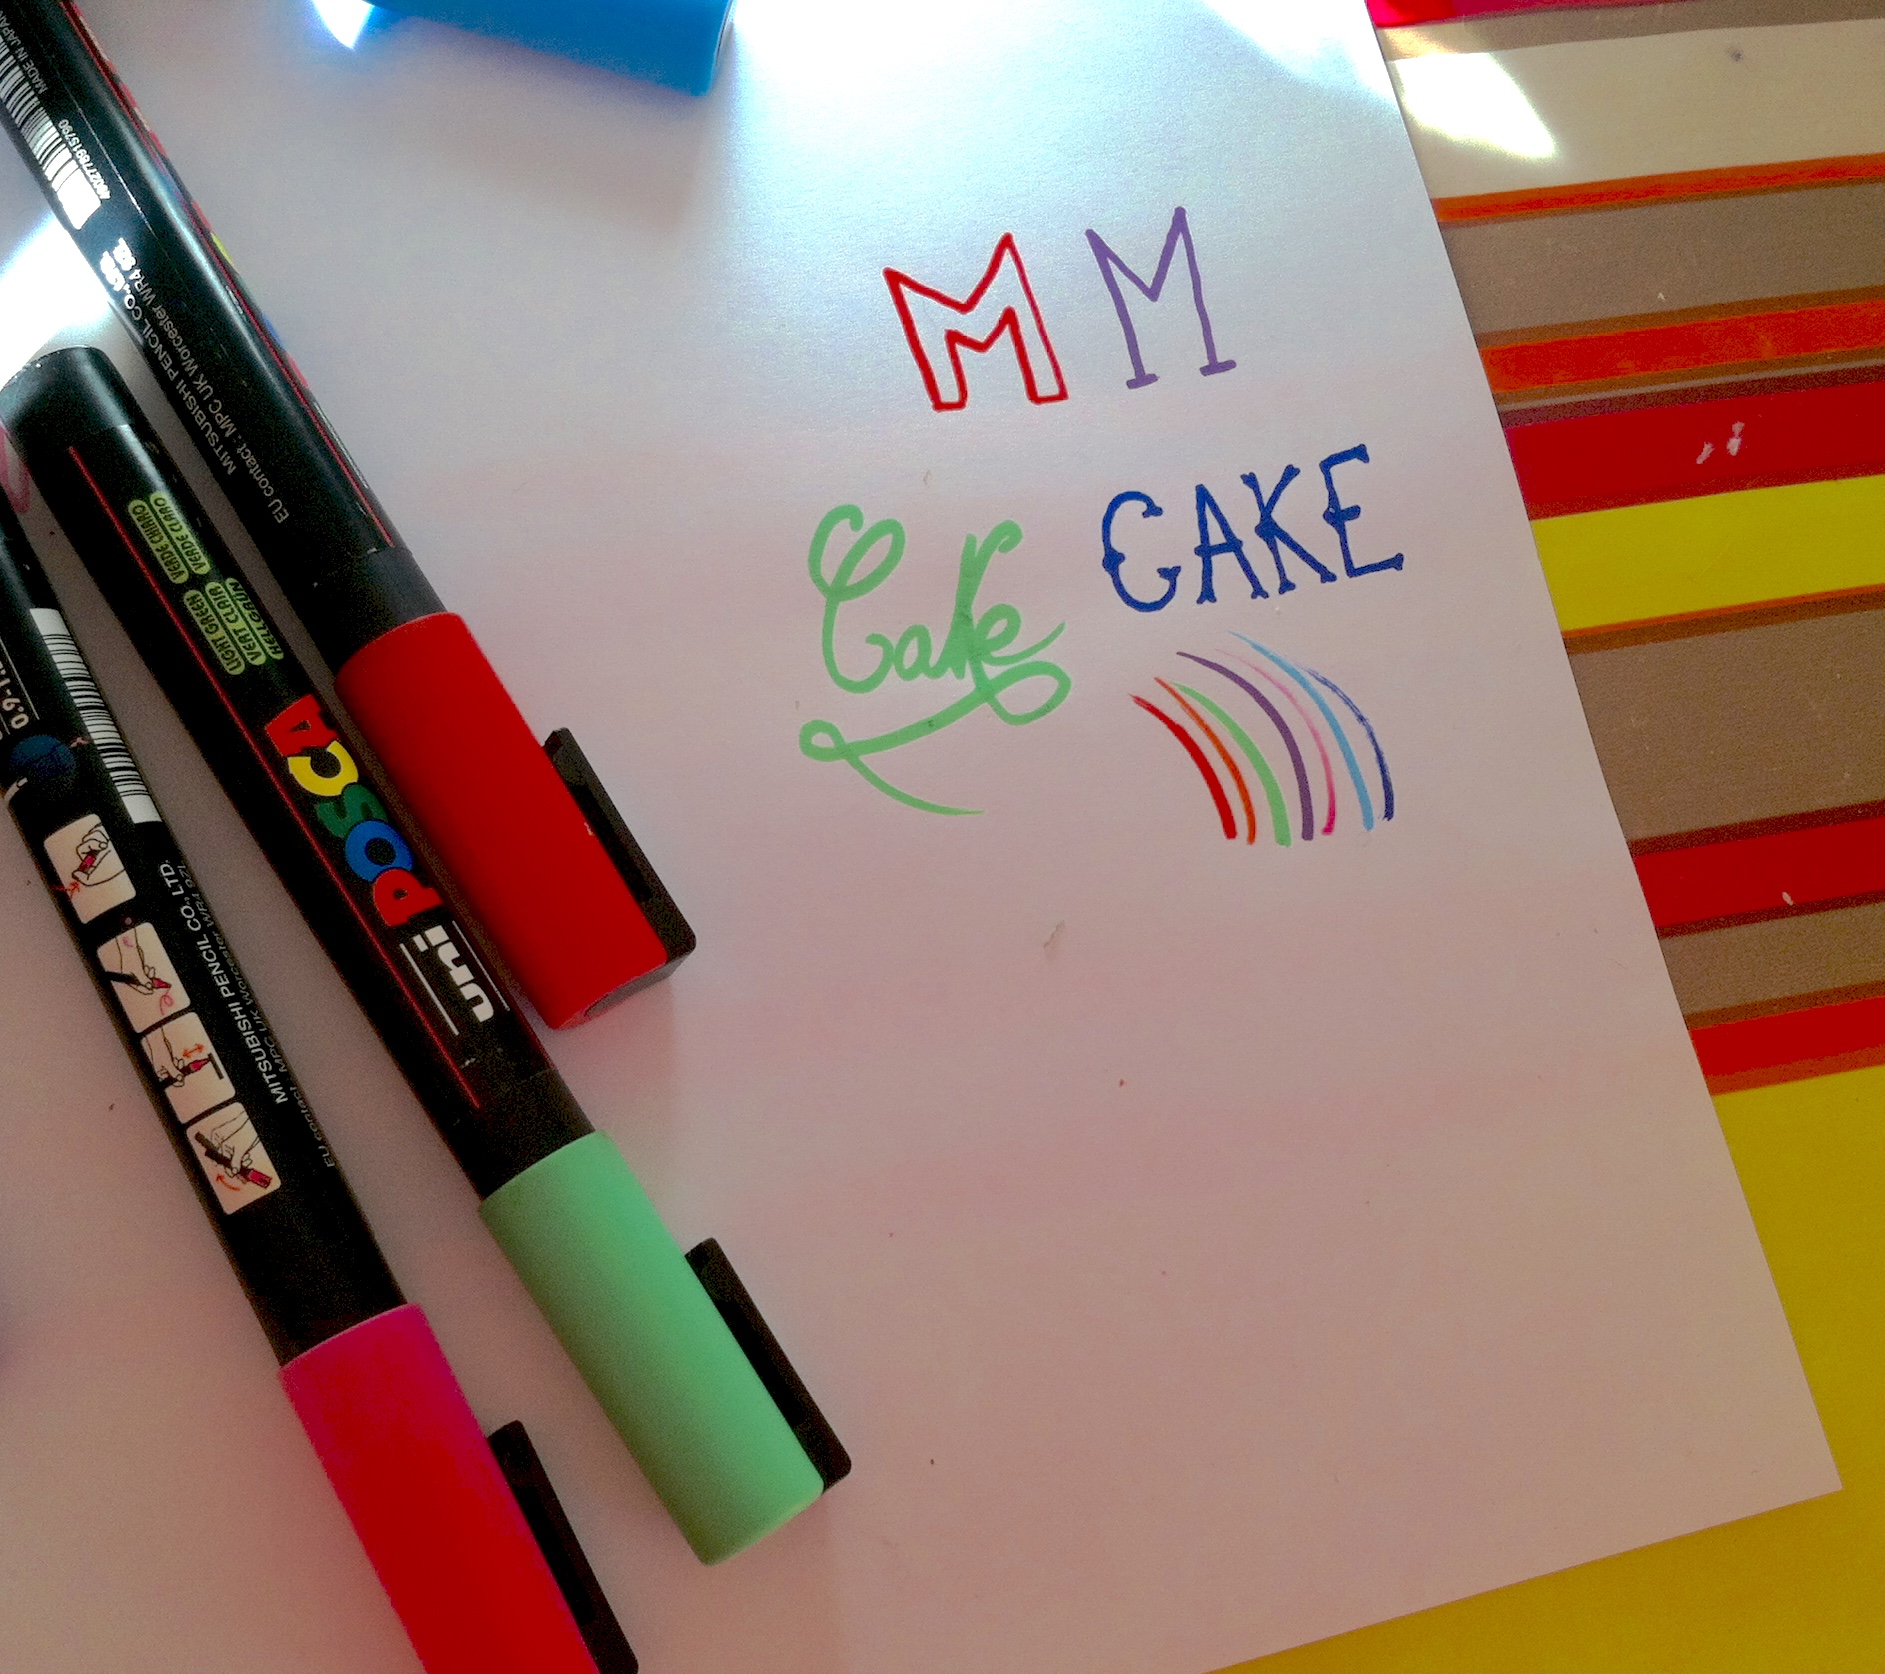
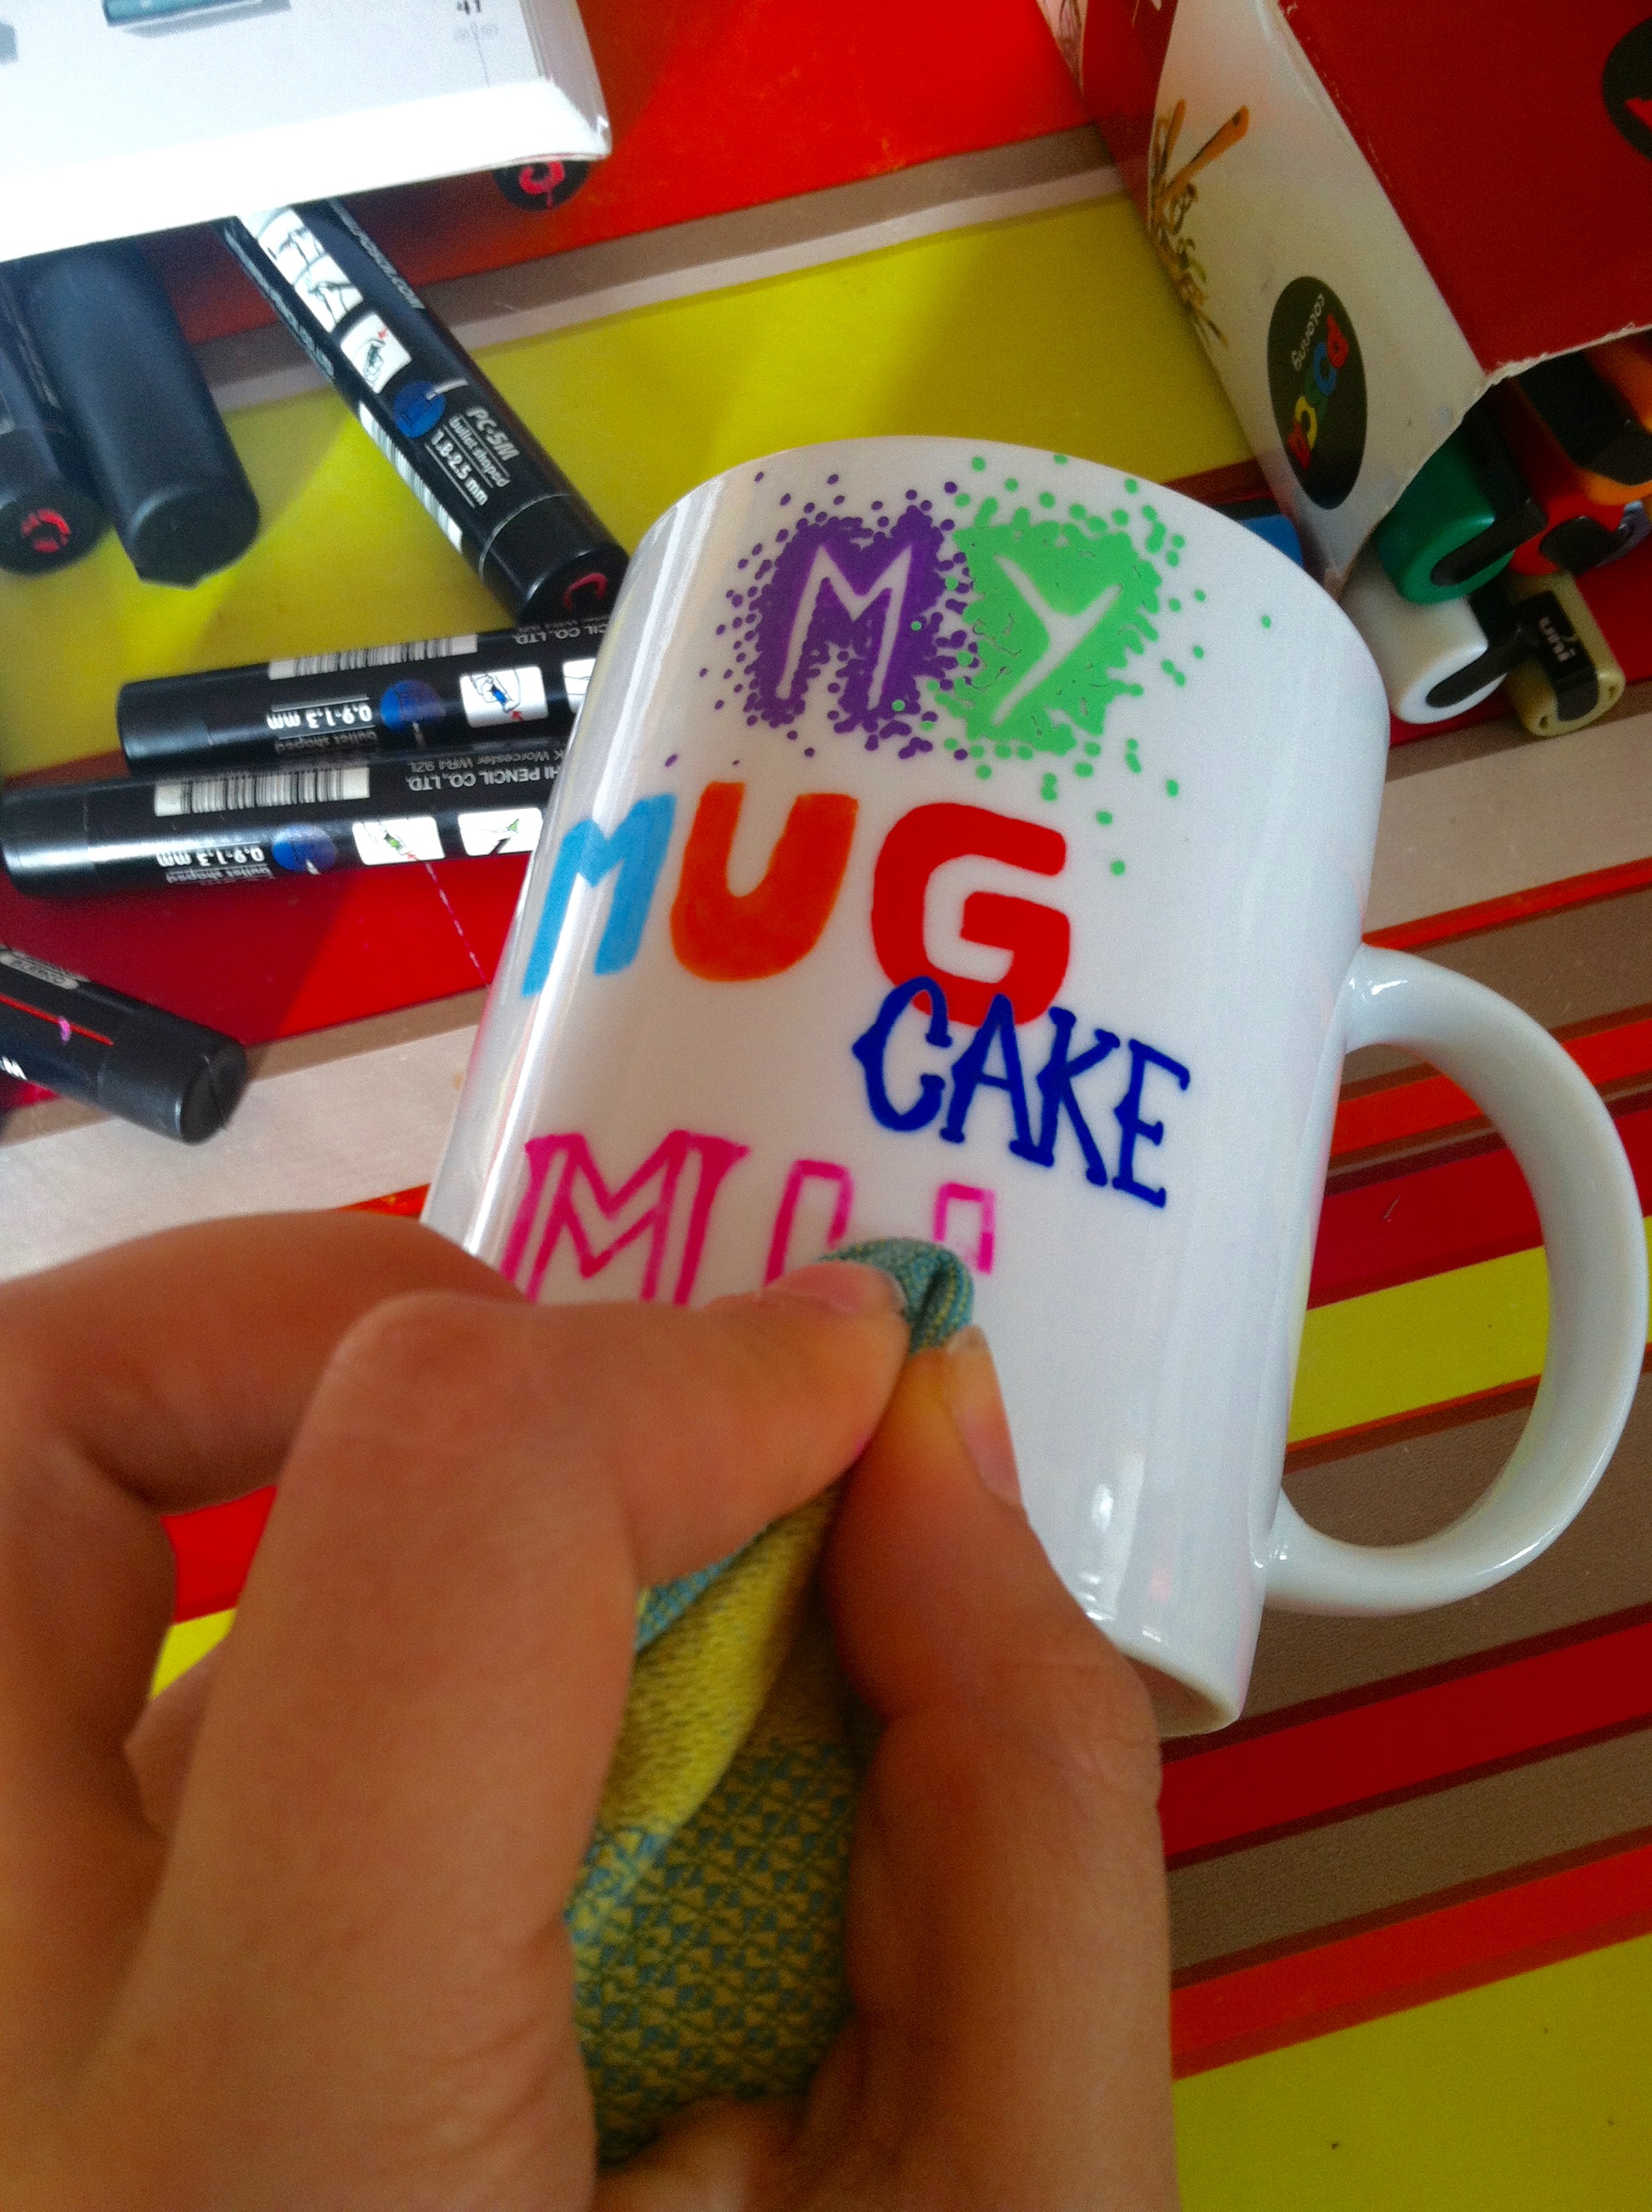
First, you should do some trials on a random paper before actually customizing the mug. This way, you'll find the good font, the best way to place the letters, etc... I decided to write "My mug cake Mug", because Melsaan and I love mug cakes (cakes cooked in the microwave, in a mug)

This is when we really start. I alternated the fonts and colors to give it a nice look.

You may use a flexible paper as a ruler, but DON'T do as I did on the pic : don't let your line touch the paper, otherwise the ink could leak...

A small mistake, an ugly letter ? You can erase it with a humid towel.

Uh, rectification : you can erase with humid ABSORBANT PAPER. The Posca make stains on the towels. Veeeery hard to remove !


Here's another tip ; you can rectify your lines (not straight enough, ugly little bumps on the edges of the letters) with a toothpick ! Once the ink is dried, just scratch with the tip and the ink will be erased easily. You can also use this tool to add some decorations by emptying several zones, as I did on the M and the U.

This tool is also useful to make the shadows look better : if you use the toothpick to get the shadow tip thinner, if follows the curve of the letter instead of ending up as an ugly big thing.


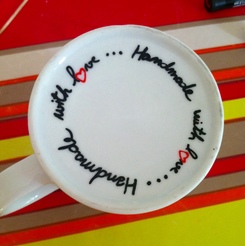
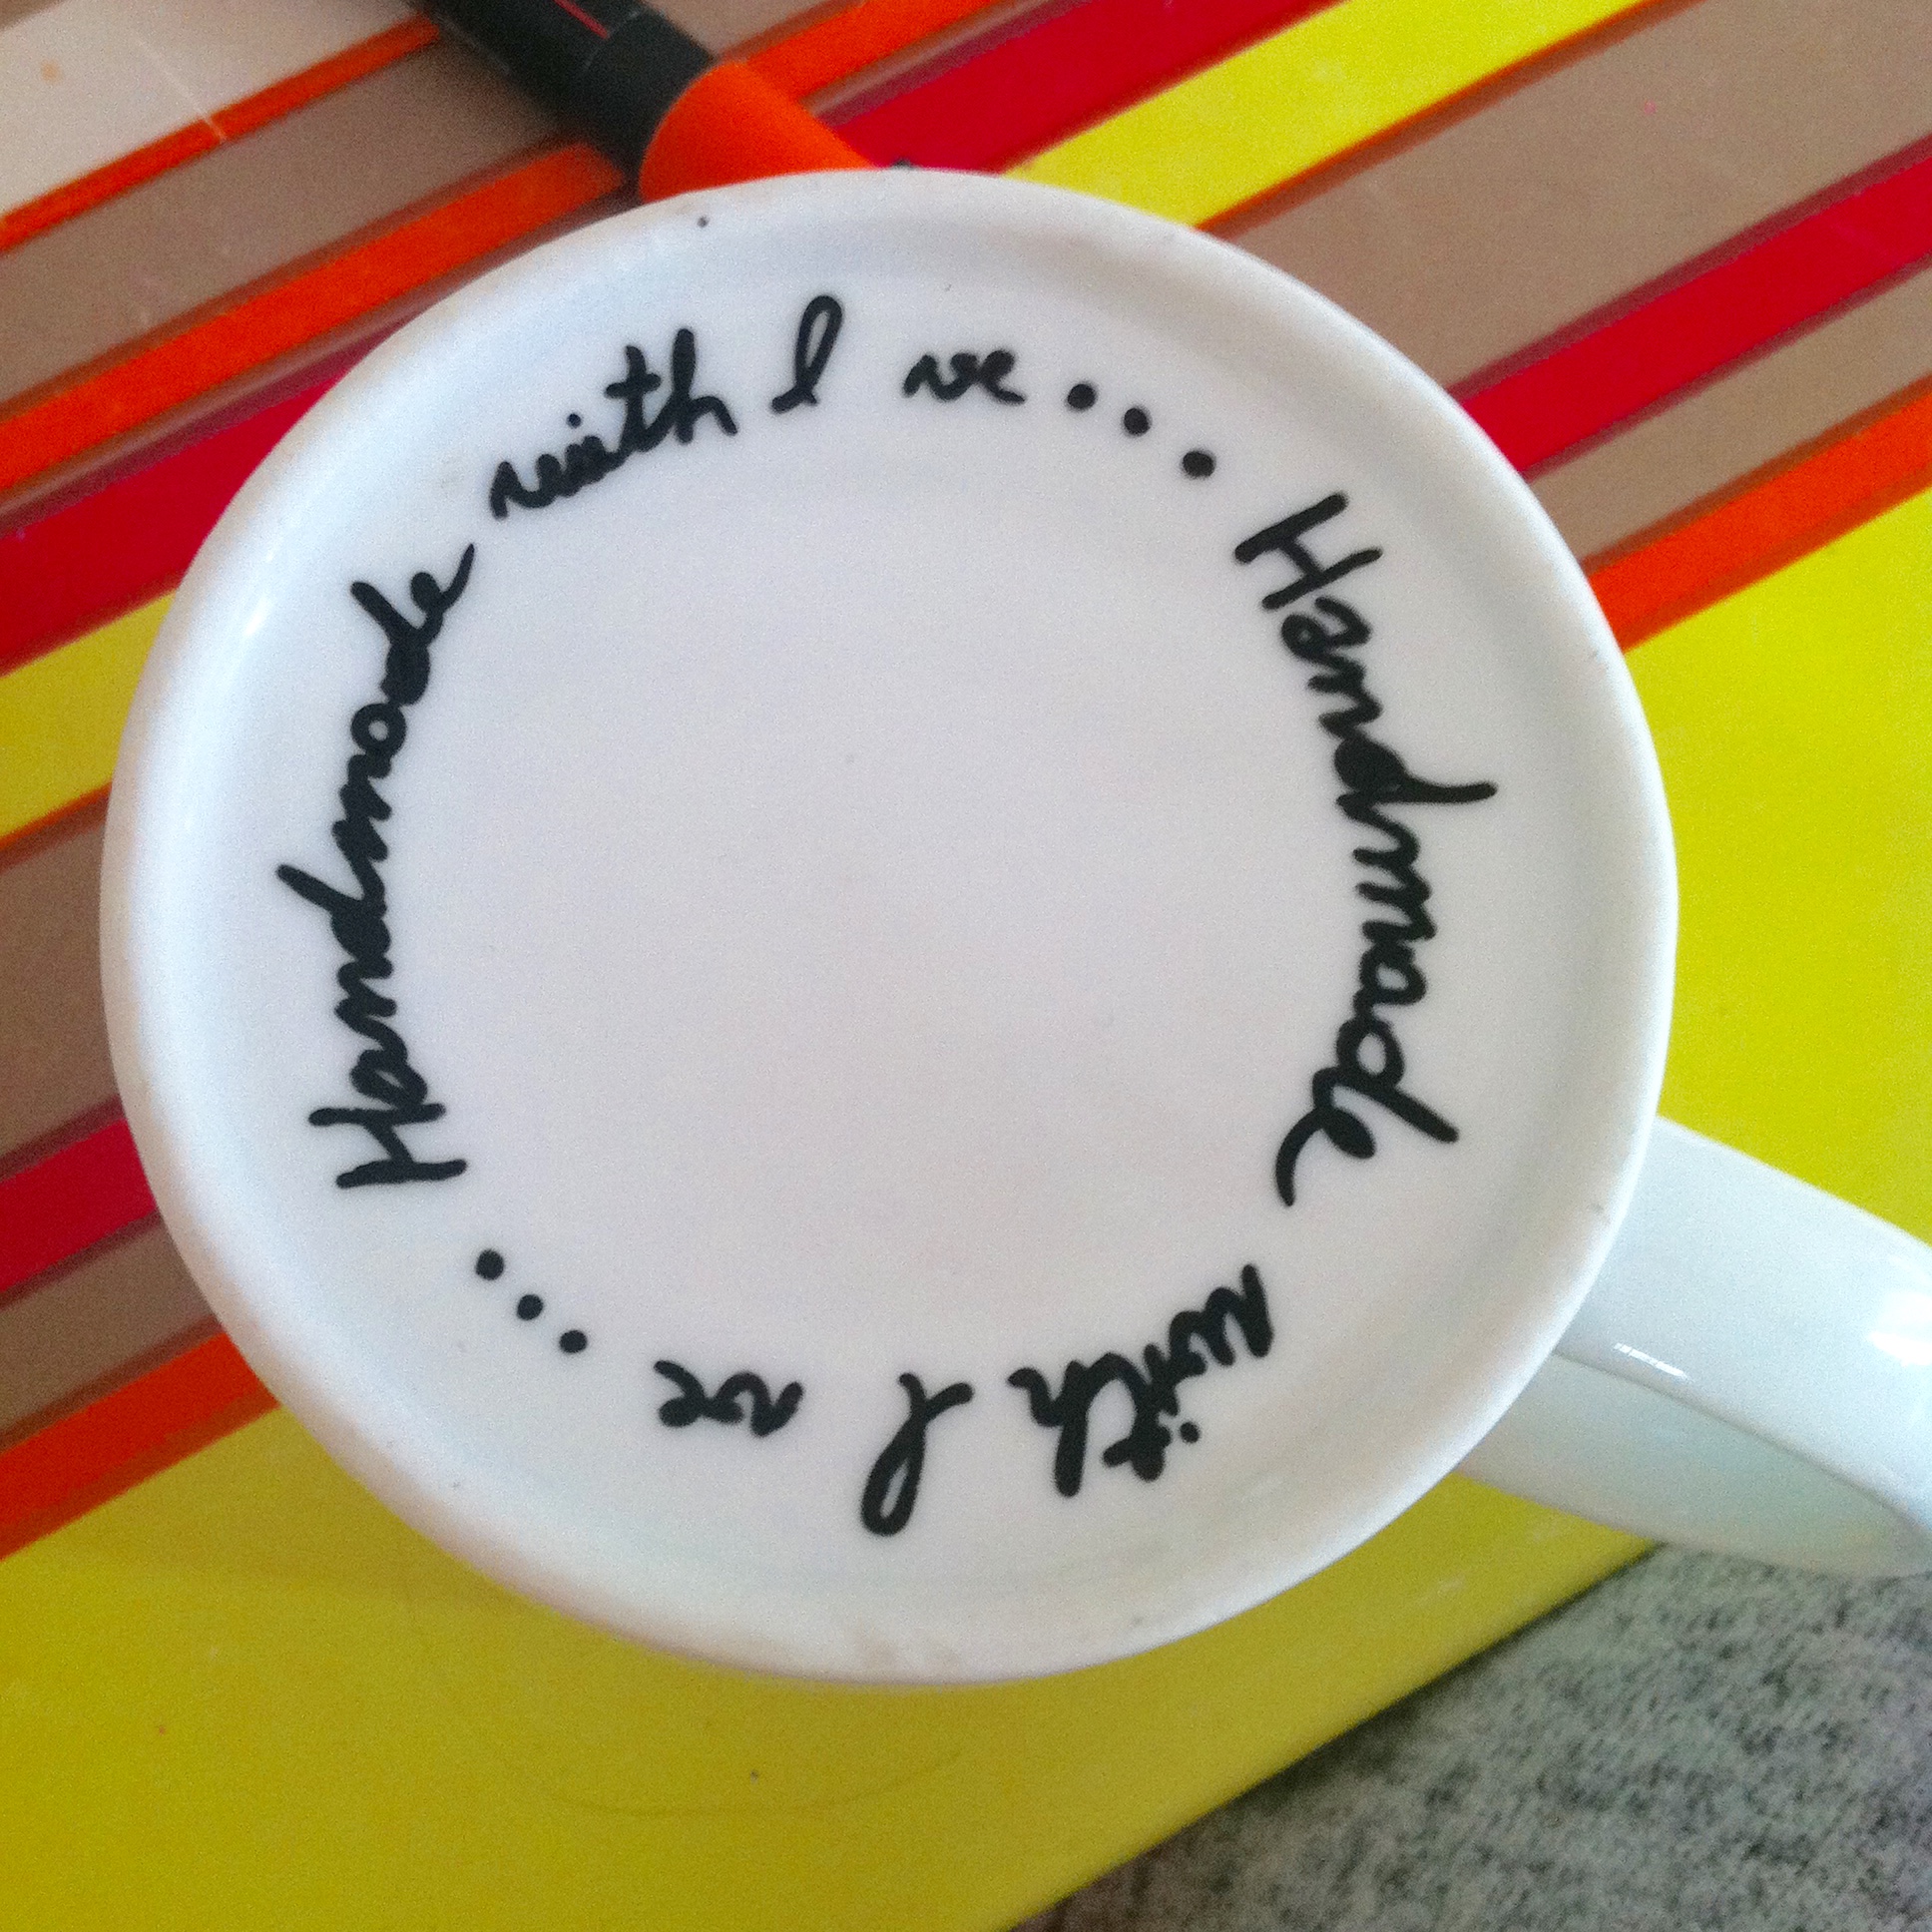
On the bottom of the mug, I wrote "Handmade with love". For the heart, I first drew an entire heart before emptying it with the toothpick once dried. Careful : you must let the black ink dry before adding the red one, otherwise the colors will be mixed together !

Here's the small word I wrote on the handle...

And the back of the mug's design. It's our basic mug cake recipe ;D

And here's the result of the front face ! (Yes, the final pic is blurred, please congratulate me)
Now we just have to put it in the oven for 30 minutes at 220°C for porcelain and at 160°C for ceramic.
After baking, the pattern resists to water, but you'll have to wash it with cold water and the soft side of your sponge in order to keep your masterpiece intact. Some people say that the oil-based Sharpie Markers are lasting better after baking. I haven't tried them yet.
That's all for today ! Bye !
your comment Follow articles RSS Follow comments' RSS flux
-
Welcome to our blog, the color factory, where we're talking about all the stuffs we do concerning creative activities, drawing...
We are three bloggers from 18 to 19 years old, full of ideas and good mood : Iolka, Melsaan and Mojo-San, the new one.
You'll' find here pictures, tutorials, Fimo modeling, stupid things because it ain't funny without them, and lots of others nice things that we want to share with you !
So, don't hesitate : wander a bit, leave a comment, share your good plans... And have a good time !
This blog is the English translation of La fabrique de couleurs. We haven't translated all the articles yet, sorry !

-