-
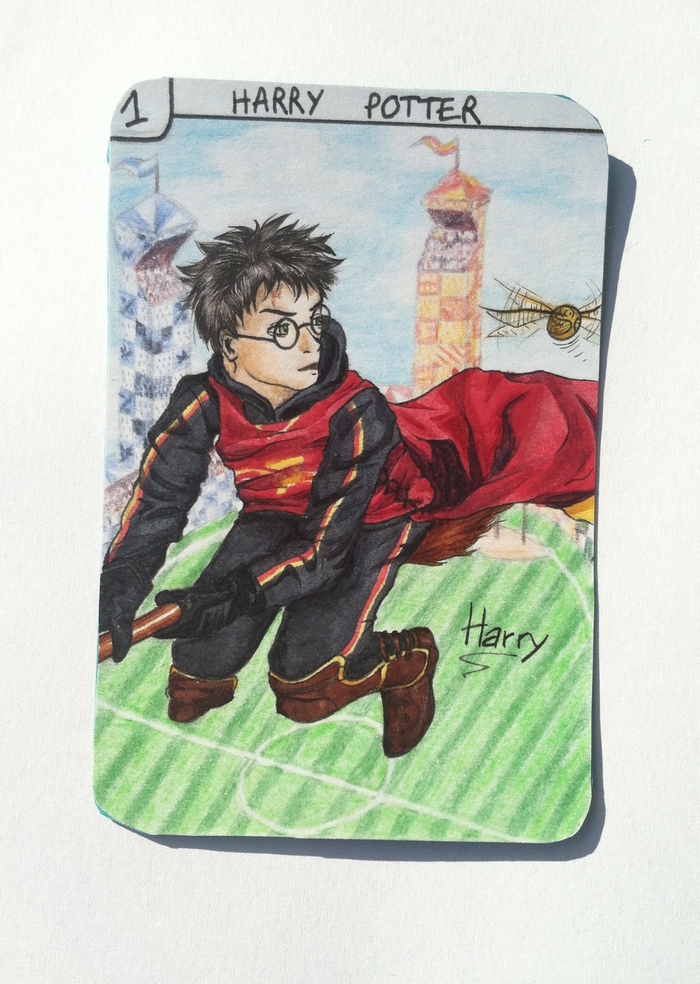
Come on, let's continue the Happy families report, since Melsaan came home a few days ago. We finished three new cards : the second version of Harry and Hermione (from the Harry potter family, thanks captain obvious), aaaaaand.... *drumrolls* Augustus Waters !
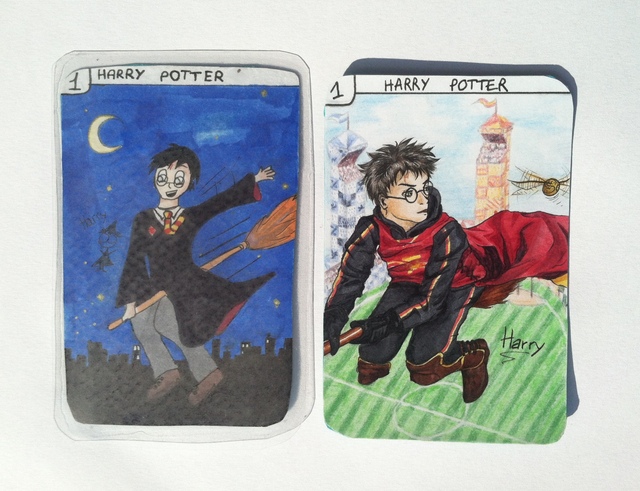
Harry is on a broomstick once again, but this time he looks older (4-5th year), and he's on a Quidditch match. For this card, I had to use a reference picture because his position was too hard to draw properly. To me, I missed his face a bit. Melsaan keeps hitting me every time I say so. Maybe I'll fix it with my graphic tab when I have the time. But anyway, we can see a clear evolution between the two cards : very detailed background, the folds in the fabric, the hair, the perspective... I'm rather proud of myself. :)
***

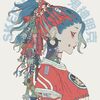
Melsaan have been in charge of Hermione once again. This time reading in the library, she looks very determined and Melsaan, who read the whole saga once again, insisted on her little stubborn look and on her bushy hair. Her fan art is therefore closer to the books than the movies. We can even see a SPEW pin on her chest, and SPEW is a club she creates in the third book, but which is never mentioned in the movies. Notice that the title of the book she reads, History of Hogwarts, ends in a curious mess because of lack of place to write it. ^^ I like the background she made, with his warm colors and his flying books...

***

And here's been a big challenge for Melsaan : drawing Augustus Waters. Because I missed it once before, because he had to be handsome and cute, because she had to draw his lovely crooked smile... So first, we spent about 10 minutes choosing the scene she would draw. Then, she started, helping herself with a photography from the movie. And I think it's very well done. First, the draw itself, but also the coloring part (look at this leather jacket !) and the background once again... Everything is cool and beautiful.
***
During this time, I spent a lot of time drawing and inking Alice's second version (yes, the one who keeps ending up in Wonderland). I drawed her on the same dress, but with a super cool background, and I took a small liberty : the card is entirely inspired of the Tim Burton's movies, but she is looking at a butterfly-brioche who's from the first Disney movie.

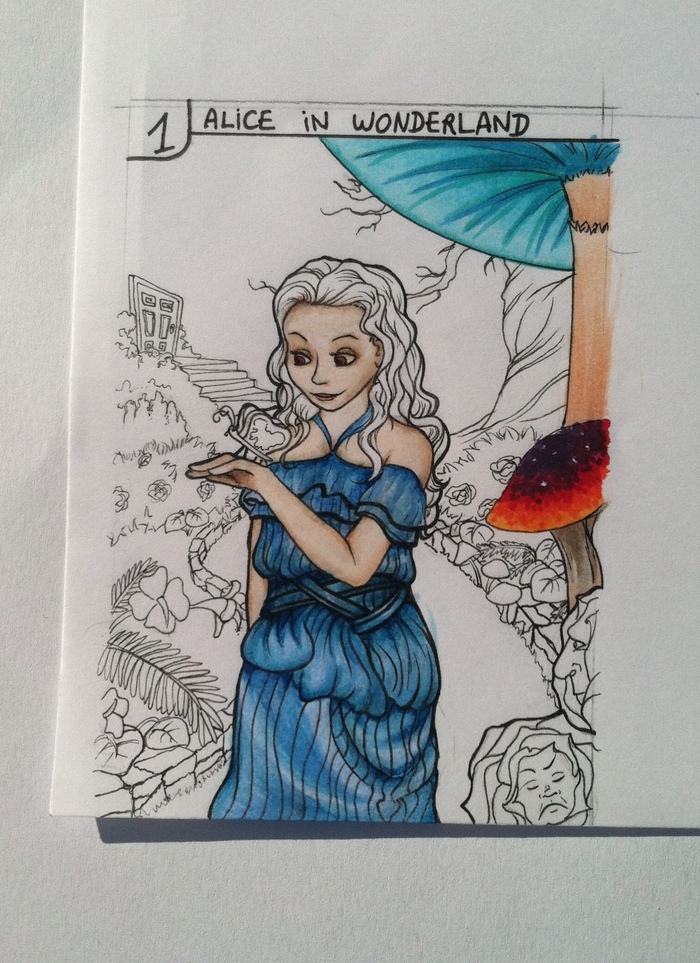
I had to thicken the character's edges a bit, so it would be detached from the background. I usually don't ink the background, but this time I felt like it would be better because I made a lot of details.
During coloring, I tried to insist on her eyes, like the makeup they made to the actress. This is where I stopped for this time. I think she looks a bit like Daeneyris, don't you ?

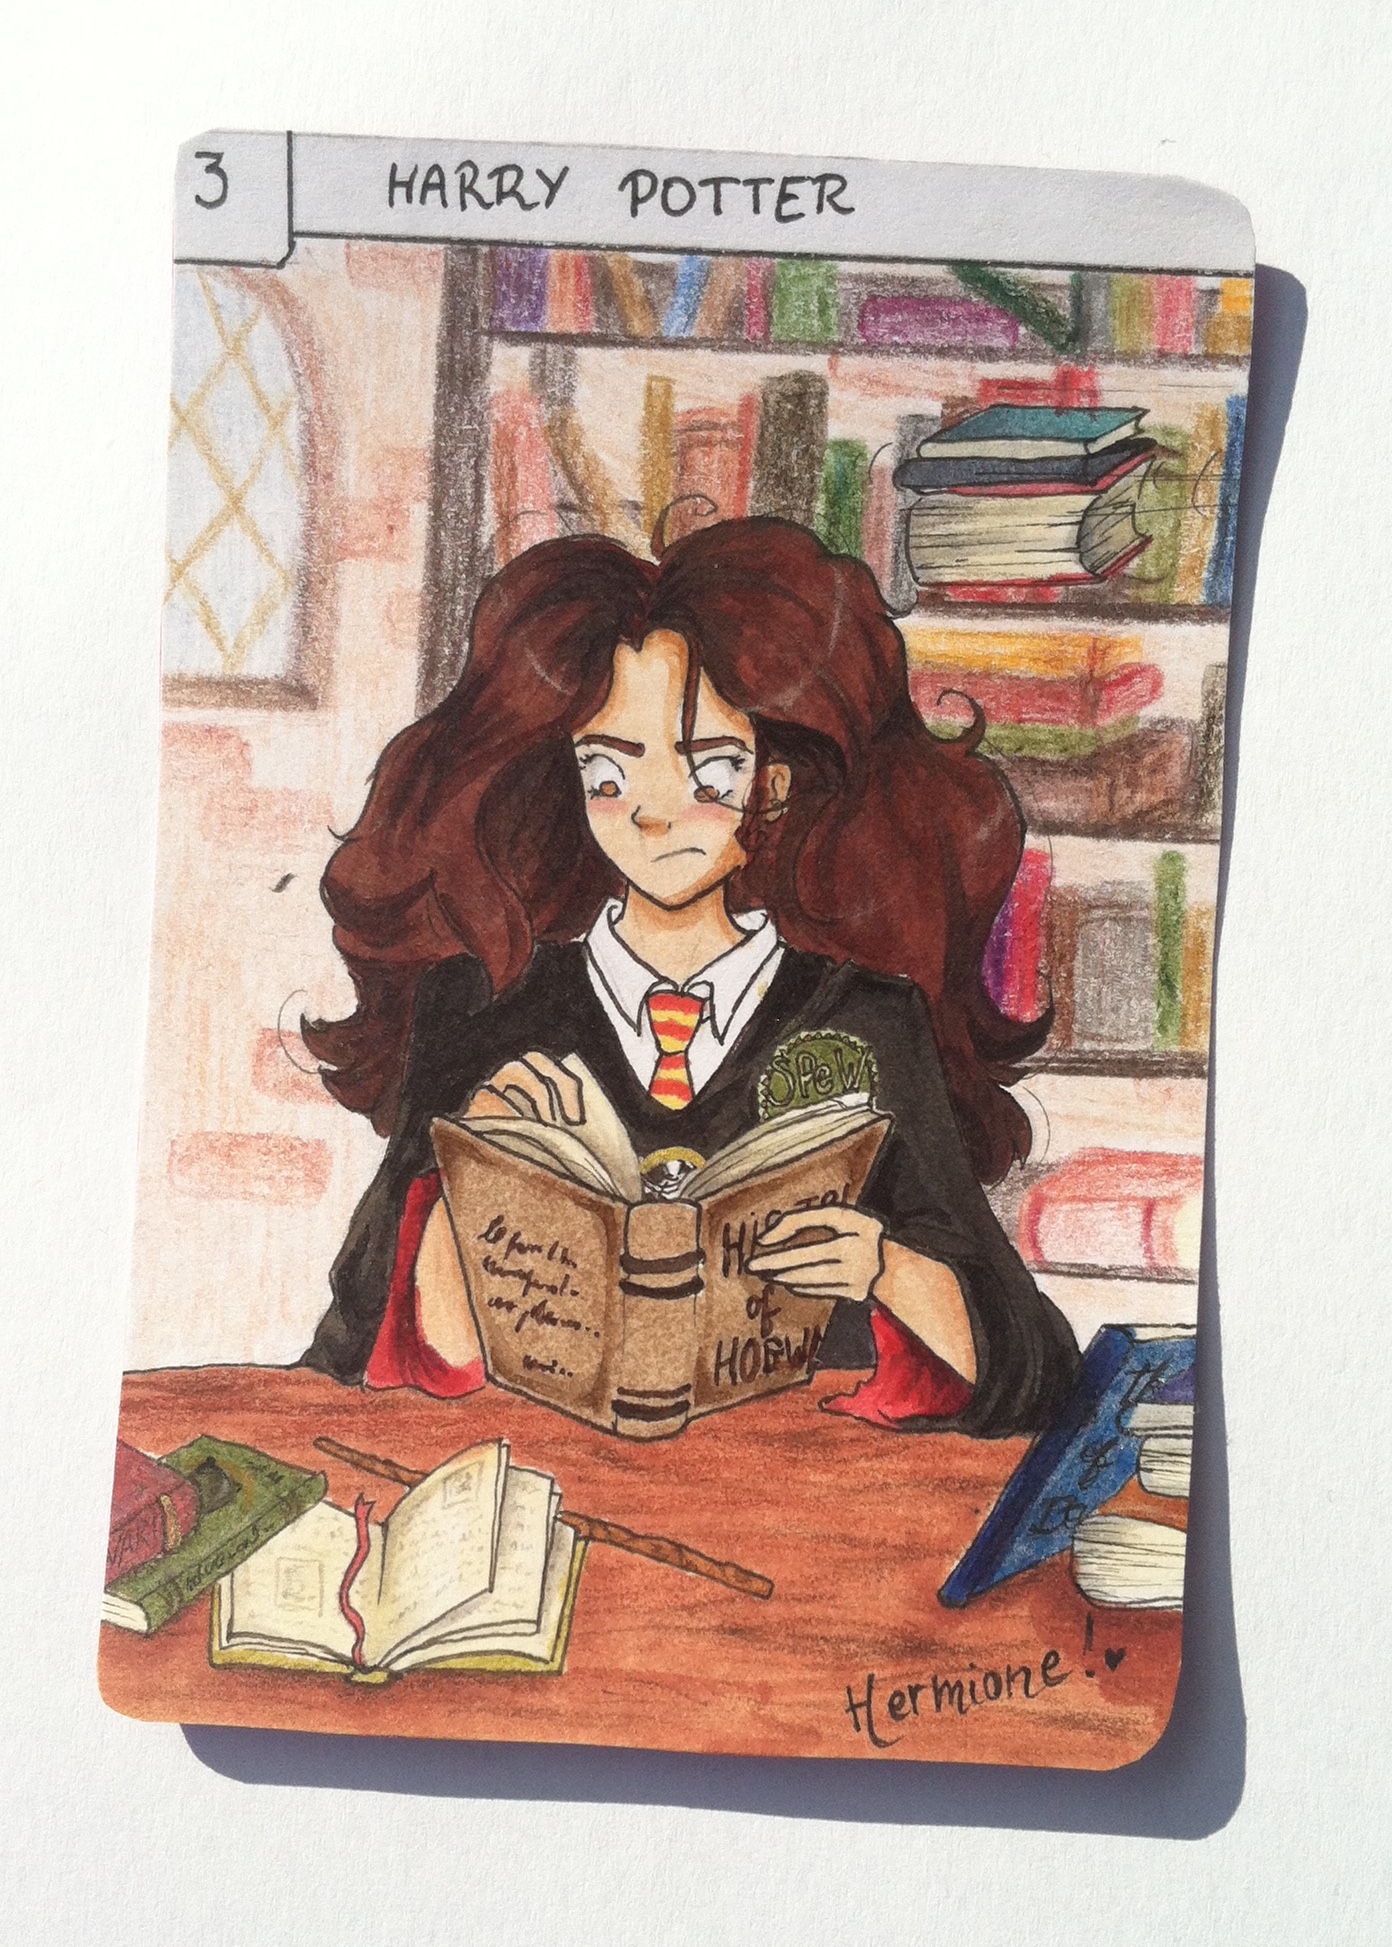
Un petit aperçu de notre plan de travail toujours aussi bordélique... Et c'est déjà la fin de cet article. Bye !
Here's a glimpse at our messy working table... And it's the end of the article already. Bye !
 your comment
-
Everybody has a hobby. Some loves to cook to relax themselves, others keeps drawing until they can barely stand up because of non-comfortable drawing position... And then there is my father. Who loves sculpting wooden spoons.
Yeah, you read that properly : his new passion consists in sculpting spoons from pieces of wood he picks up. At the beginning, it was just a small hobby, but these weeks, it took a new scope : my garage's floor is constantly covered by wooden chips, he bought professional equipment aaand we are now the happy owners of about twelve brand new spoons.
So.
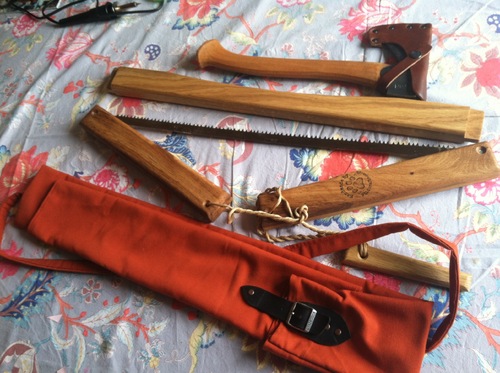
If I tell you about this, that's because among all the professionnal stuffs my father bought, there was this :

It's called a "buck saw", and it's a sort of portative saw (left : unfolded, right : folded).
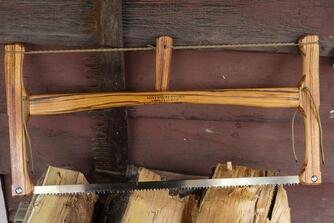
And, as his birthday was approaching, he asked me to make him a case to tide it in, where we could add an axe. The only base I had was this picture :

And yeah, OBVIOUSLY, I forgot to take pictures as I was making it. Again. So, this time again, you'll have to deal with laborious explanations and pictures of... the finished object. But, lucky you, I made drawings to help you understand.
WELL. First, what did I use ? You'll need, if ever you wish to reproduce my marvellous work :
- Some solid fabric
- Some thread (same color as the fabric)
- A sewing machine
- Some rivets (the metallic stuffs on your jeans)
- A piece of leather and a buckle (from a belt or, as I did, from an old shoe)Let's go.
• First, I analyzed the object. You need to notice a few things :
1) The base of the case is a cylinder that wraps the Buck Saw while maintaining the two parts tight
2) When you put the saw in it, it exceeds fifteen twenty centimeters from the saw. This length is to be pulled back over the head of the axe, and to be closing the case by the same way.
3) A second piece of fabric is sewn over a half of the cylinder : that is where you put the handle of your axe.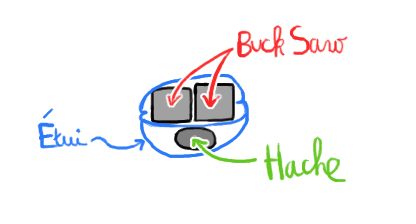
If we made a transversal cut of the whole thing, it would look like that. (Hache = axe, Etui = case)• Then, I took some measurements : the girth of the two pieces of the saw to wrap, their height... Then, from this, I cut off two pieces : a big rectangular one which will be the base, and a smaller one, rectangular too, which will wrap the axe. It looked approximatively like this :

(longueur de la bucksaw/du tour de la BS = length of the buck saw/of the girth of the BS ; hauteur = height)
• Puis j'ai ourlé certains bords pour ne pas qu'ils s'effilochent :
• Then I hemed some edges in order not to let them unravel

The nice hems are the ones you'll see at the end, the ugly ones will be hidden.
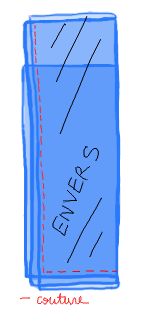
(ourlet moche = ugly hem ; bel ourlet = nice hem)• Then, I sewed the small piece on the big one. Be careful, this sewn is pretty complicated to visualise :
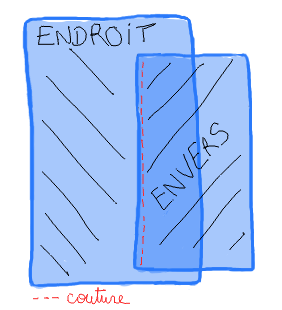

(ENDROIT = RIGHT SIDE ; ENVERS = REVERSE SIDE ; couture = sewn)
The second picture shows the small piece folded over the big one across the sewn. On my picture, you can see the sewn because I made the fabric transparent, but in reality it is hidden by the small piece (and on the 2nd pic you see the right side of it)
• After this, I folded the whole thing in two, right side against right side, and I sewed on the reverse side the three edges of fabric together to close the case.
(ENVERS = REVERSE SIDE ; couture = sewn)
Then, I turned it inside out like a sock.
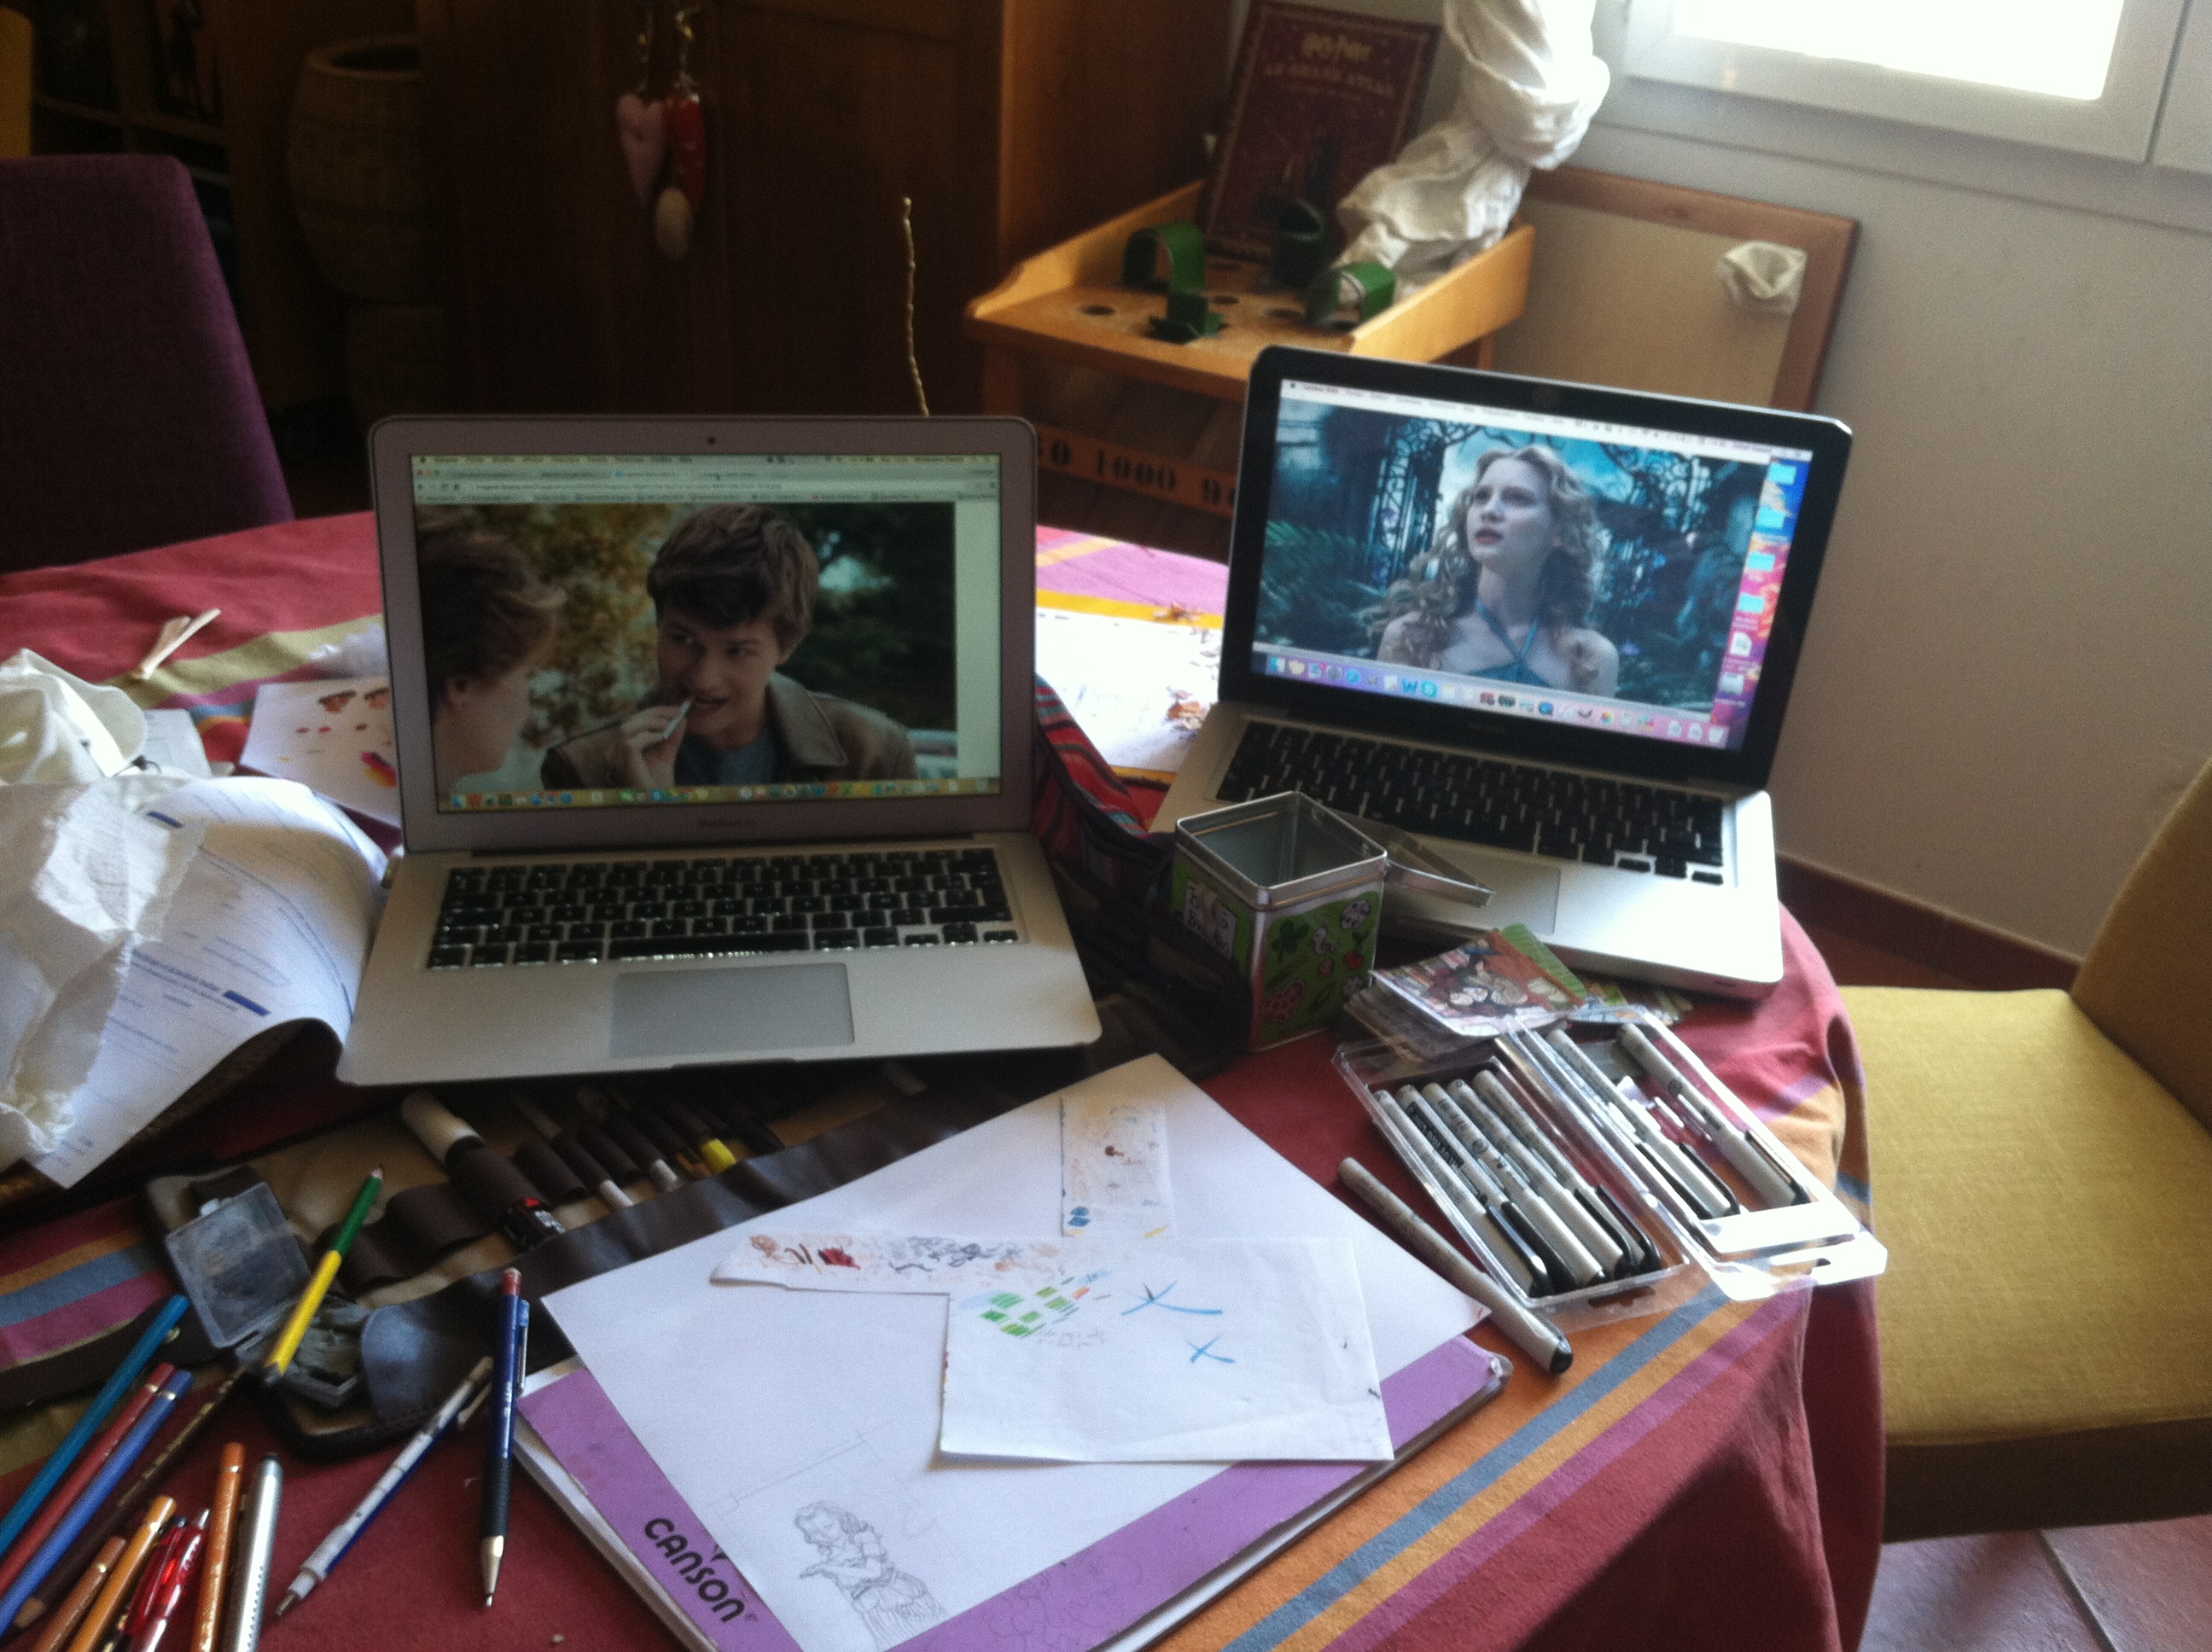
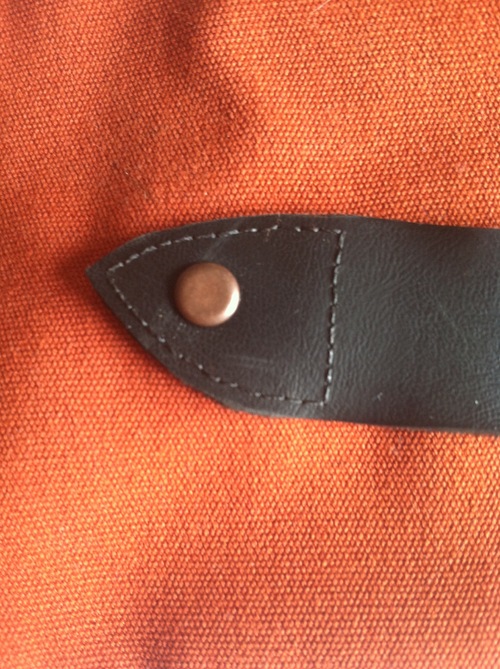
• Next step : sew the closing part. Like in the original picture, my strap is made of leather, but I is closed by a metallic buckle (the one I picked on the shoe). I cut my strap on the shoe with a cutter, to give it a nice shape, then I rubbed it a bit with sand paper to soften the edges.
• Then, I sewed the two parts of the strap where I had to put them. To find the right place, I put the saw and the axe in the case, I pulled back my exceed of fabric (the 20 centimeters-long one). There, I placed the two parts of my strap and I marked the place with a pencil (make it discreet). Then I pulled the saw and the axe over and I sewed.
Let me tell you one thing : sewing leather is very, very hard. I had to improvise : I made holes in the leather, at a regular distance, with a rather thick needle, and then I sewed with back stitches in the holes I made before. It was rather clean. For one of the two pieces of leather, I was fed up with carefully sewing so I made two "clean" lines of stiches and I fixed the rest with ugly stitches on the reversed side, that we couldn't see on the right side. This isn't very clear, sorry ^^
After all that, I placed some rivets in the leather to be certain that it was properly fixed (and because it looked good).


(Au passage : envers d'un bel ourlet = by the way : the reverse side of a nice hem
Belle couture = clean stitches
Couture moche = ugly stitches)• Eventually, I made a fabric shoulder strap (in order to wear the case in one's back). To do this, I took a large strip of fabric, I folded it in two and sewn the edges a first time, then I flattened it and I folded in two again, and sewed a second time. I tied it on the case with two rivets at each side. For the length of the shoulder strap, I made a few trials on my dad for it to be well adjusted.


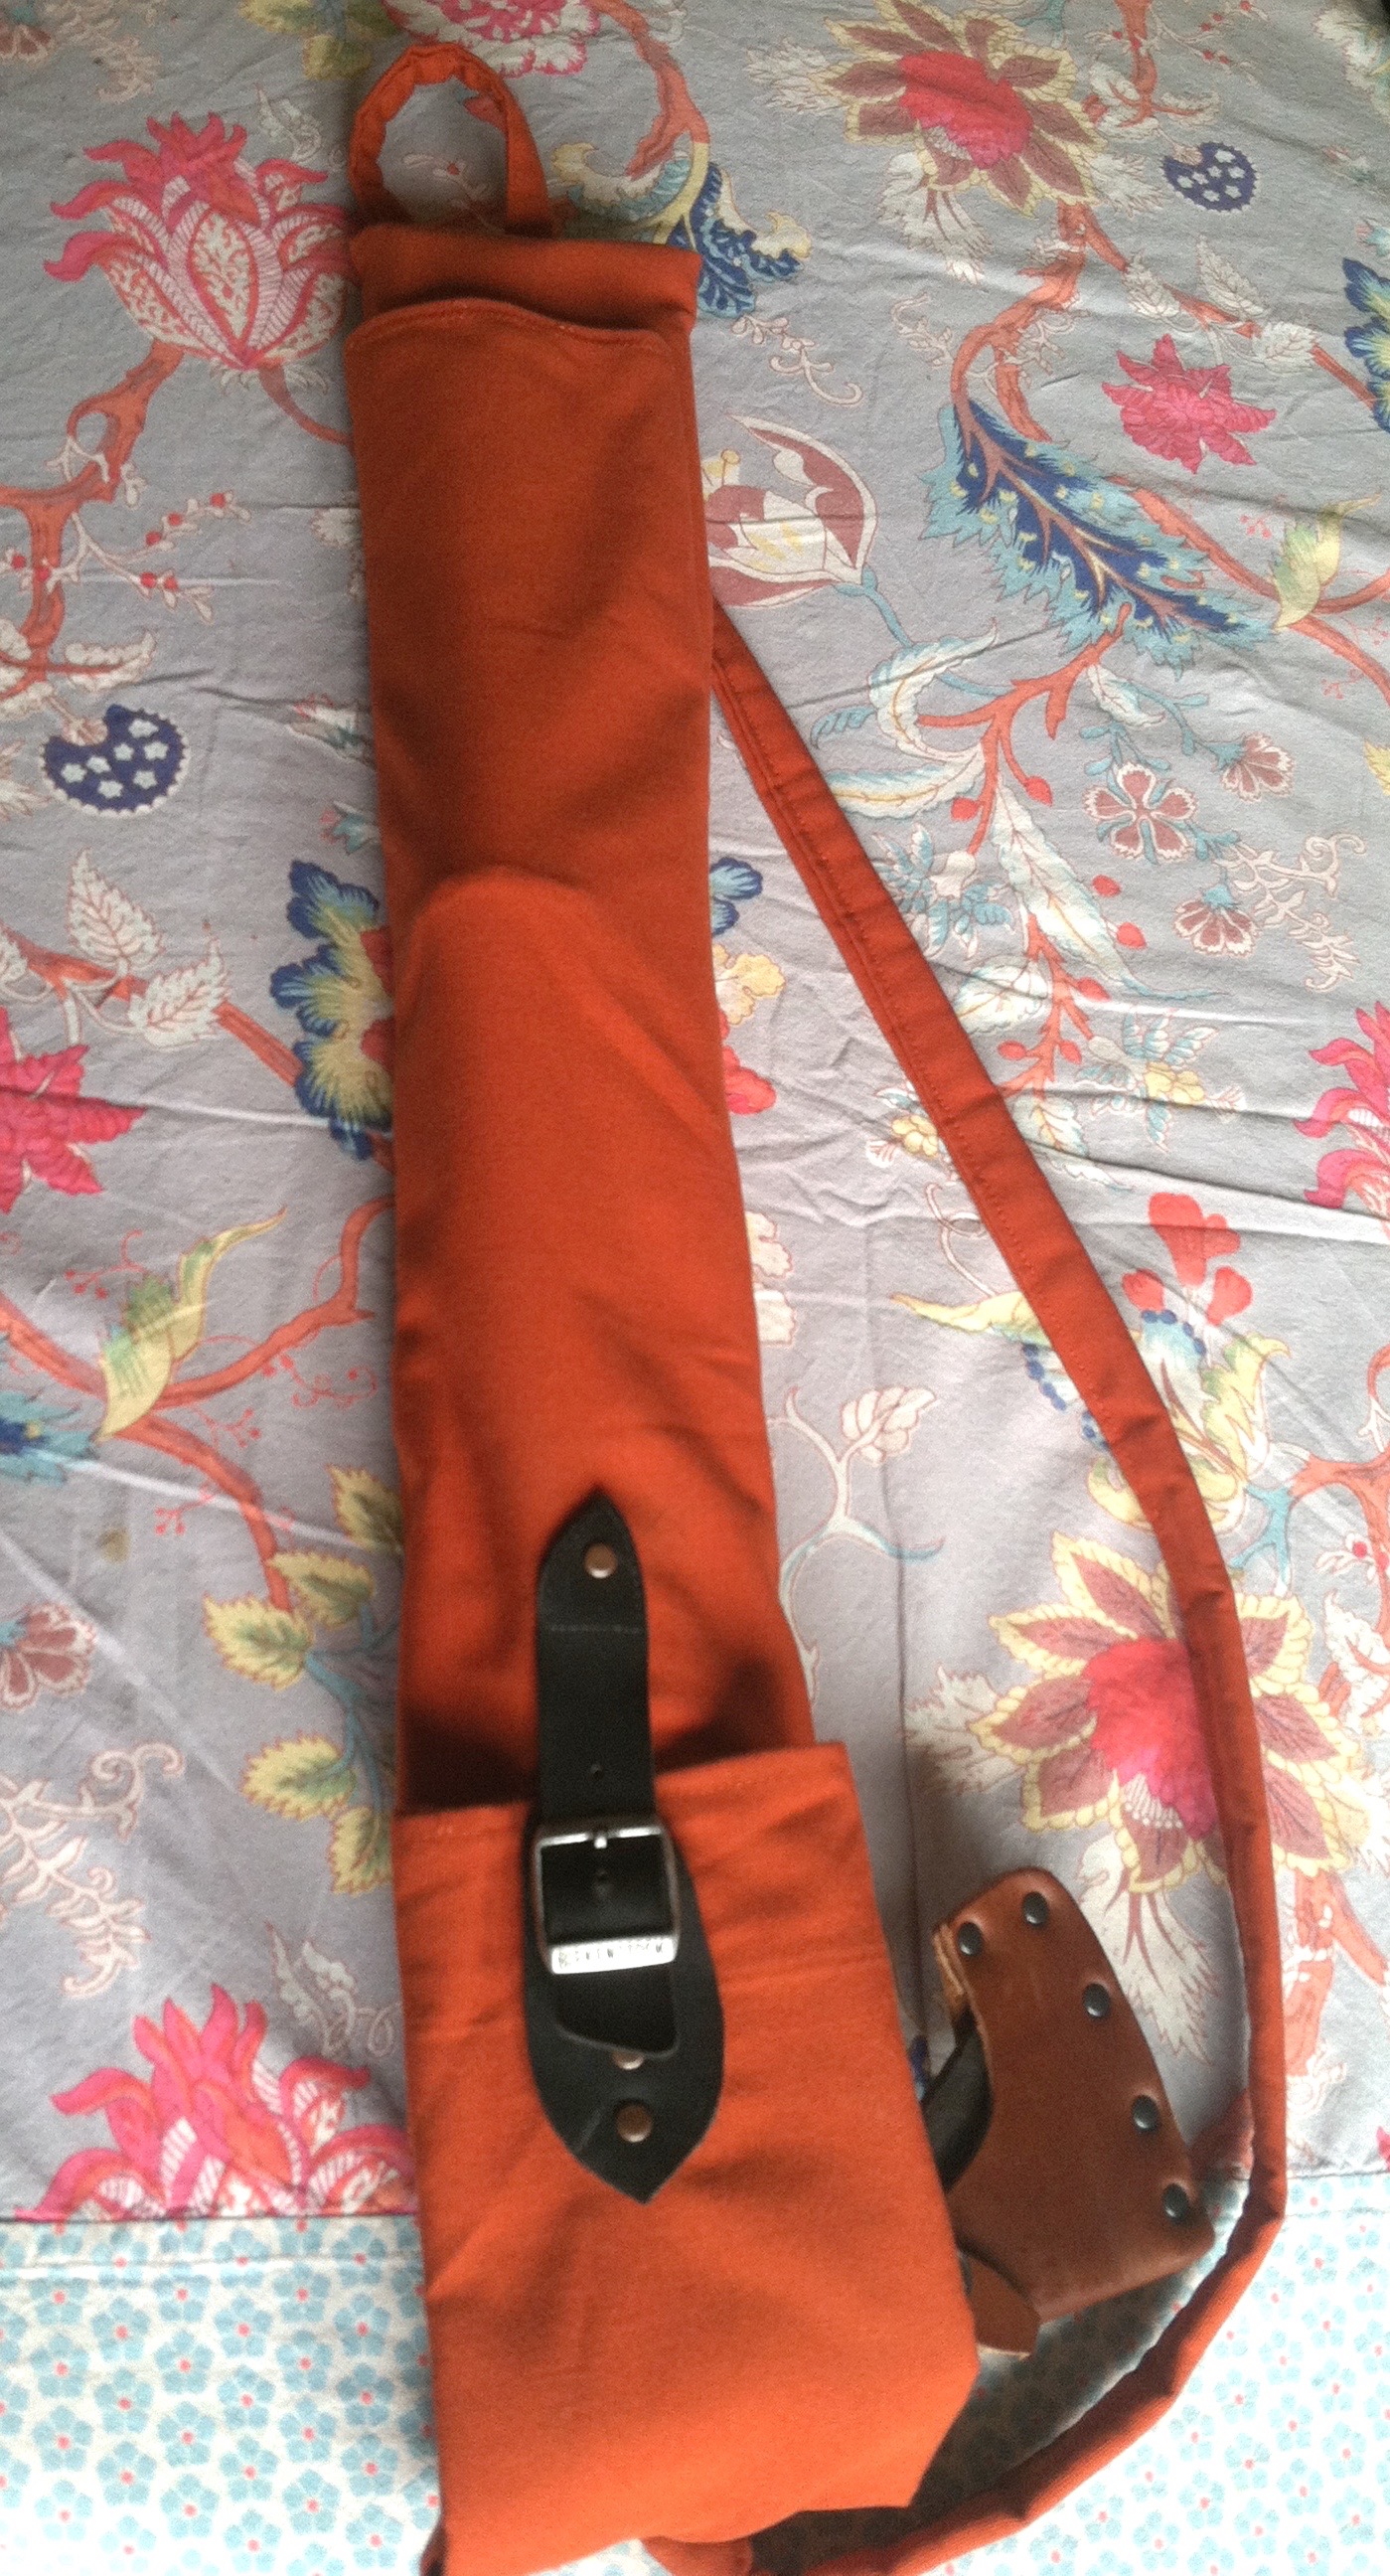
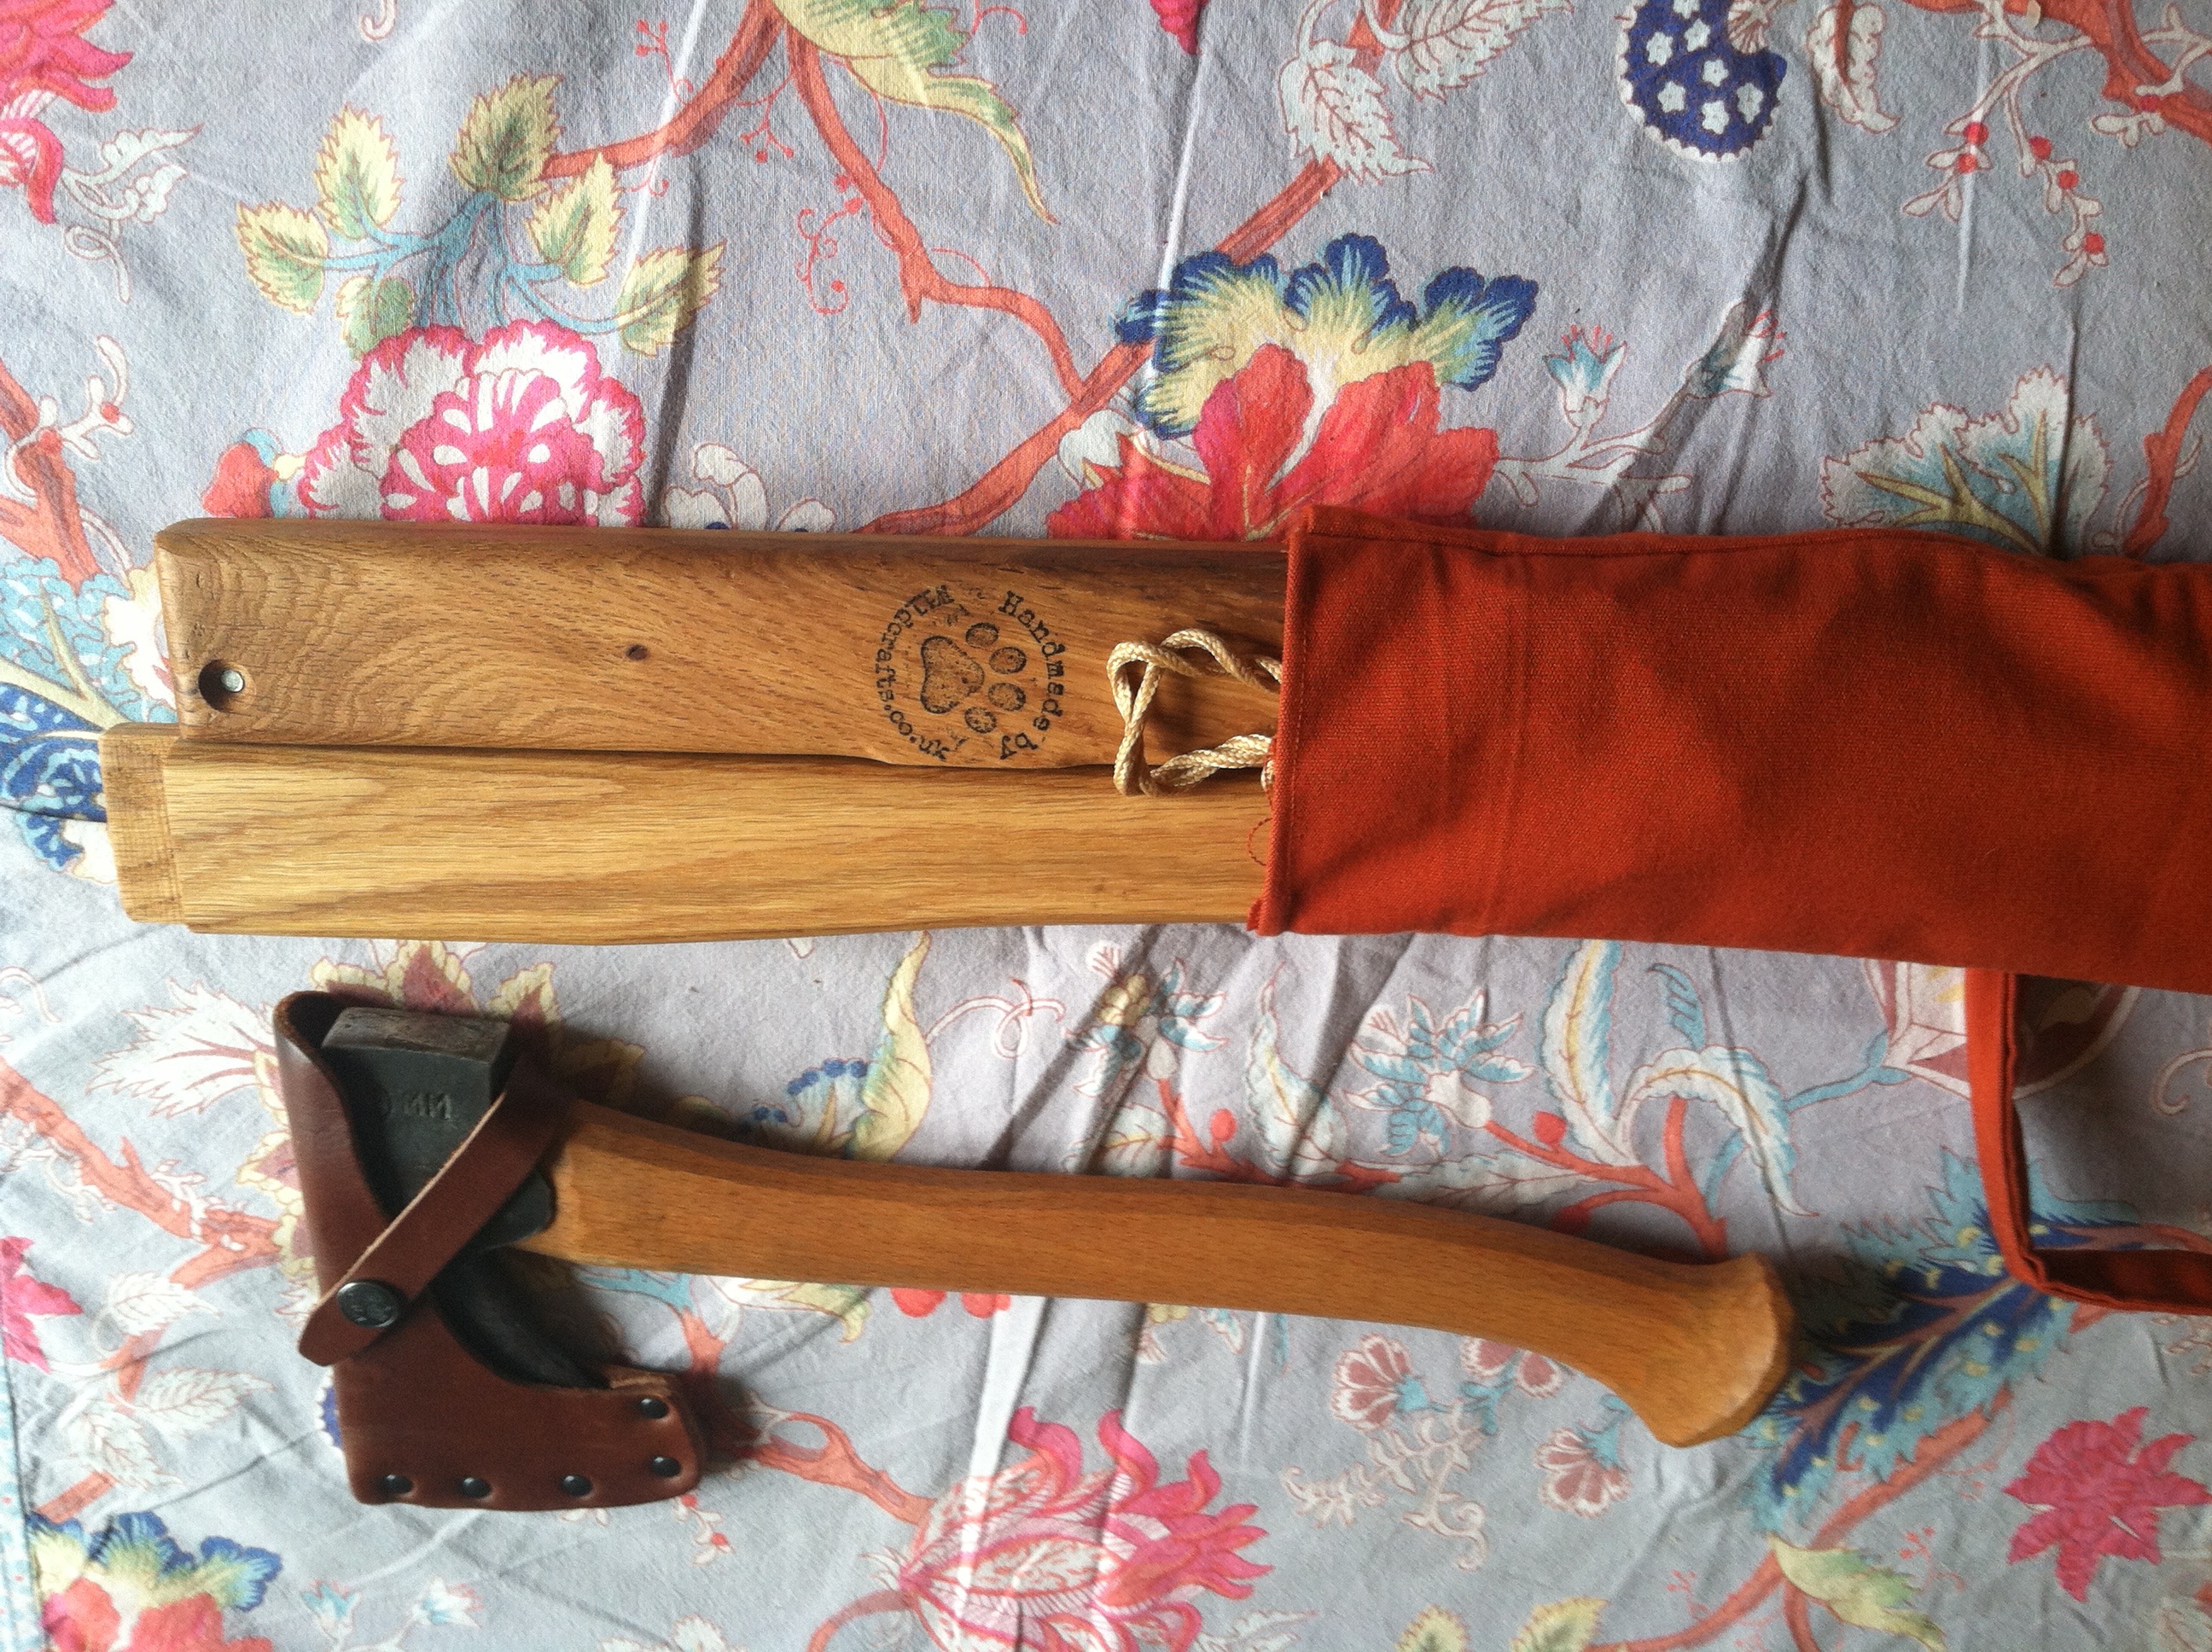
Then, I finally got a great buck saw case, very useful and good-looking :


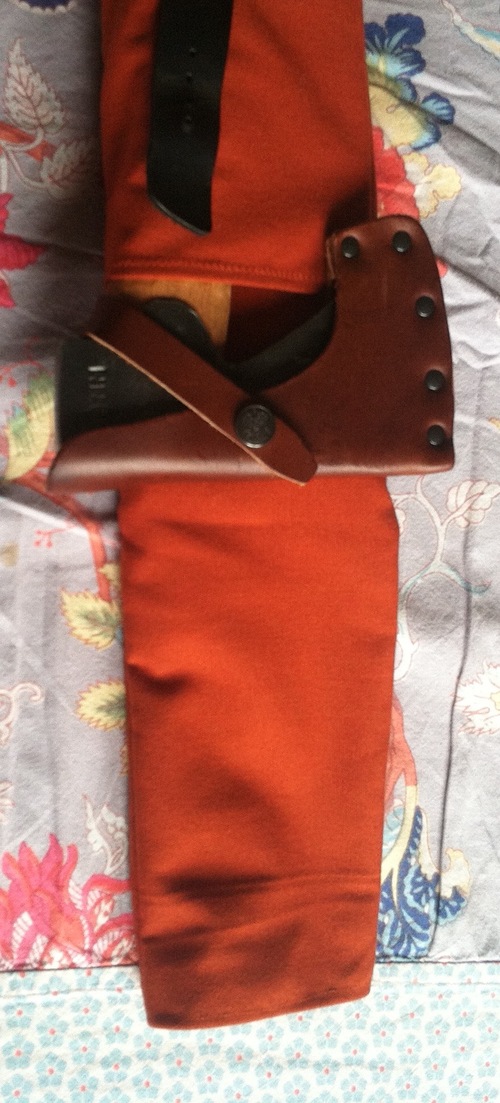

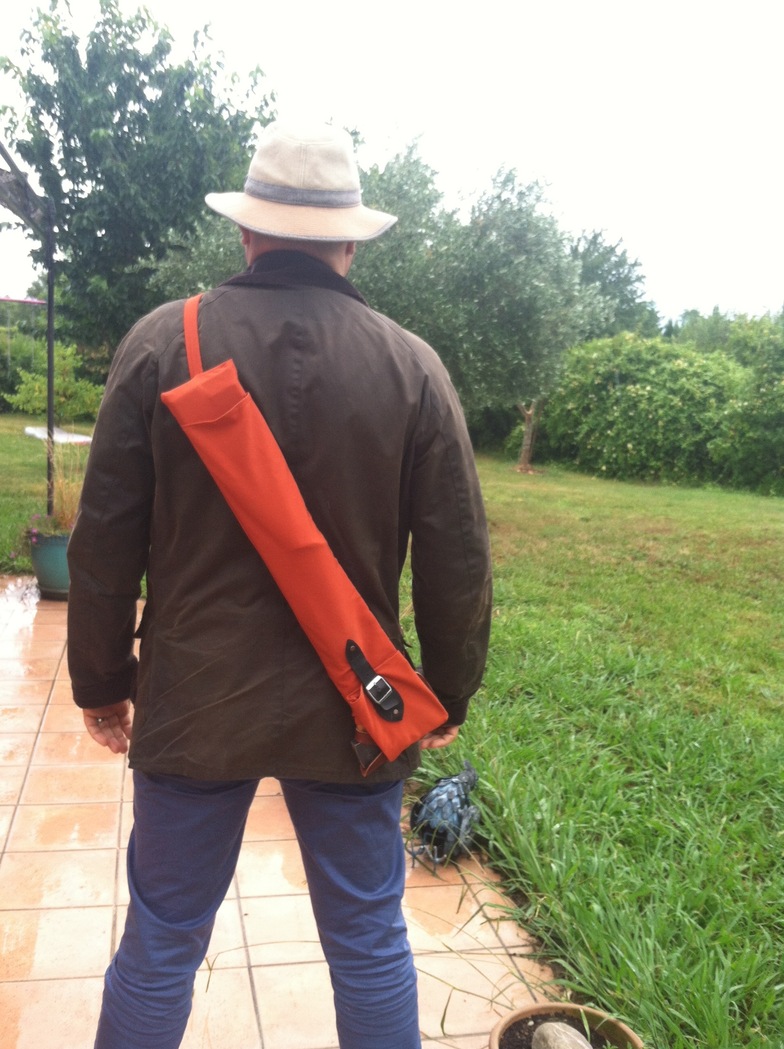
And my Dad was very happy ! Now, he can take his bushcraft equipment everywhere to get some wood in the forest or the countryside. ^^
2 comments Follow articles RSS Follow comments' RSS flux
-
Welcome to our blog, the color factory, where we're talking about all the stuffs we do concerning creative activities, drawing...
We are three bloggers from 18 to 19 years old, full of ideas and good mood : Iolka, Melsaan and Mojo-San, the new one.
You'll' find here pictures, tutorials, Fimo modeling, stupid things because it ain't funny without them, and lots of others nice things that we want to share with you !
So, don't hesitate : wander a bit, leave a comment, share your good plans... And have a good time !
This blog is the English translation of La fabrique de couleurs. We haven't translated all the articles yet, sorry !

-